

Create a letter
You can start a letter from an application or from Documents.- From an application
- From Documents
Starting from the job you’re applying for is quickest, because the letter is set up for that job.The new letter is named after the company, for example “Cover letter — Northwind Games”. It becomes this application’s letter, takes its recipient from the application (the company, and the first contact’s name if there is one), and takes your details and design from the application’s resume, if it has one.
1
Open the application
In Applications, select the application to open its details.
2
Select Write a letter
Under What you sent, select Write a letter. The button shows only while the application has no letter.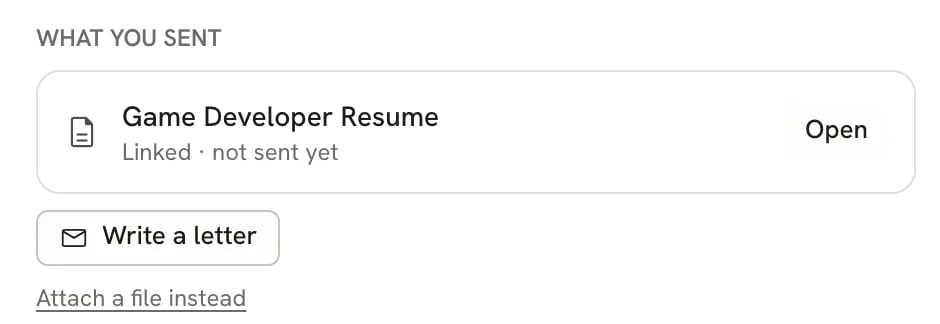
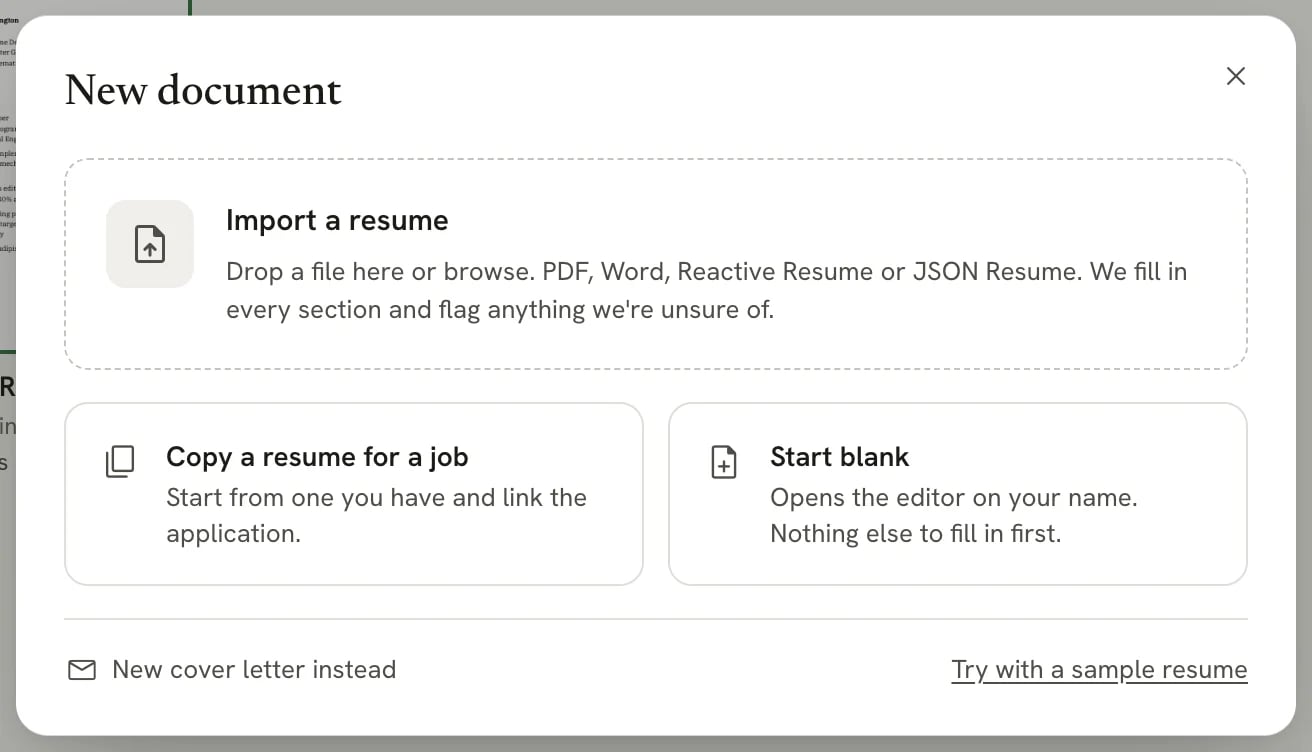
Fill in the letter
The letter editor looks like the resume editor, with two modes: Write and Design. The panel on the left holds the letter’s details, and the page on the right shows the letter as it will print, updating as you type.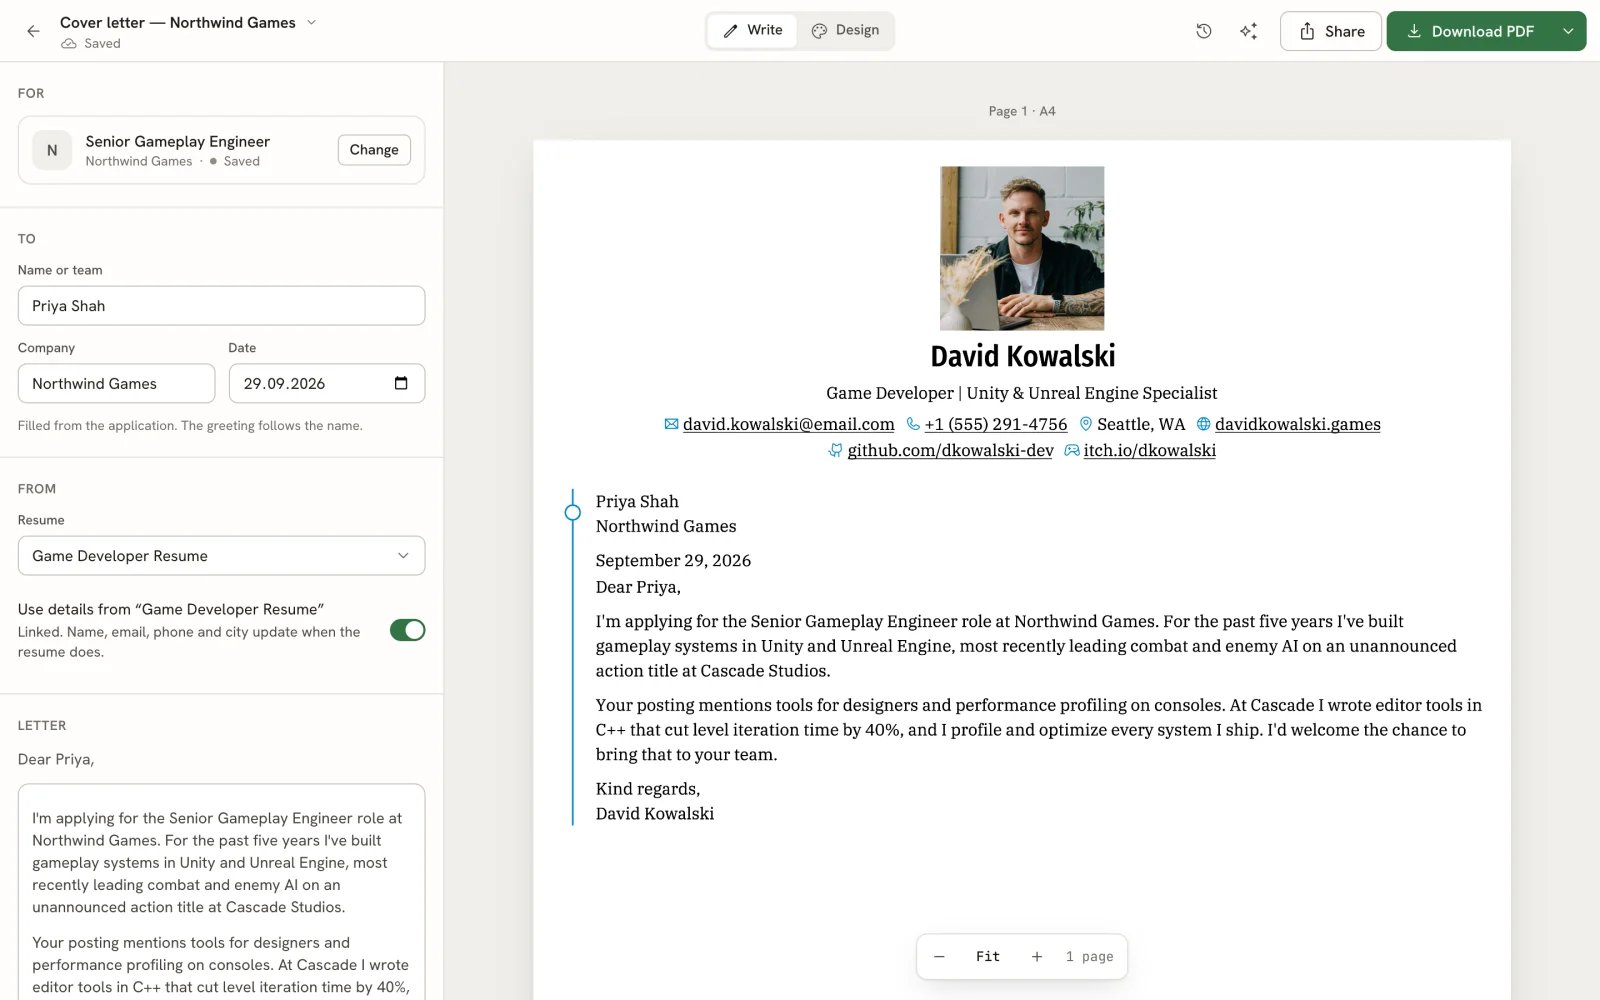
The letter editor in Write mode
1
For: the application
Under For, select Link an application to choose the job the letter is for, or Change to pick another. Closed applications aren’t listed. Linking fills the recipient’s company and name. Choose No application to unlink it. Without an application, you fill in the recipient yourself.
2
To: the recipient
Under To, check Name or team, Company and Date. The greeting follows the name: “Dear Priya,” for Priya Shah, or a greeting to the hiring team when the name is empty.
3
From: your details
Under From, choose the Resume your details come from. With Use details from that resume turned on, your name, headline, email, phone and location stay linked: when you change them on the resume, the letter changes too, and tells you the next time you open it.Turn the switch off to keep a copy of your details in the letter instead. The copy doesn’t change when the resume does.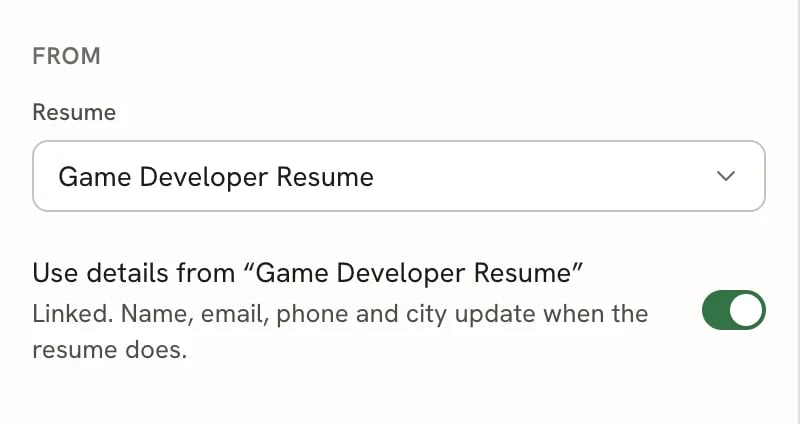
4
Letter: the body
Under Letter, select Write it myself and type the body. The greeting and sign-off are added around it in the document’s language, inherited from the resume while the design is linked. Change Language under Design → Page to choose the letter’s own language.Edit Greeting or Sign-off to use your own wording. Sign-off includes your name: edit the whole signature and add your phone, email or other details on lines below it. Custom signatures print exactly as entered, without an extra name appended. Clear either field to omit it, useful when you already wrote a closing in the body. Select Use default to restore the automatic wording and sender name.The body editor has the same formatting tools as the resume; see Formatting text.
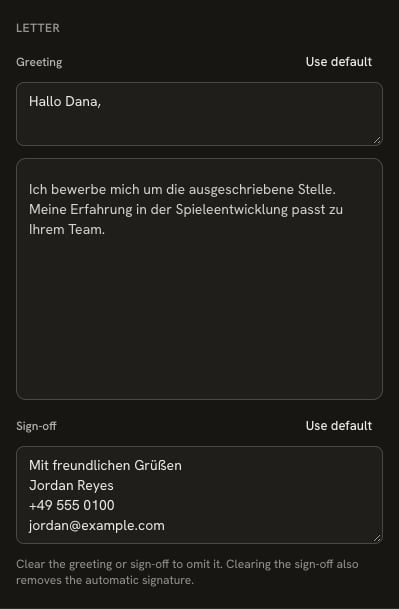
A custom greeting and German signature with name, phone and email. Use default restores automatic wording and sender name; clear a field to omit it.
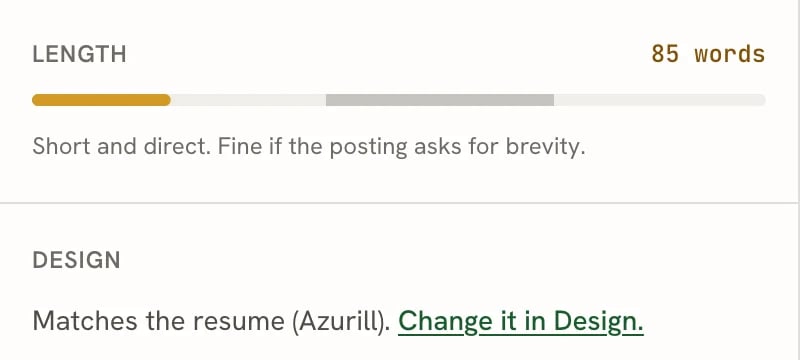
Draft the body with AI
If you’ve connected an AI provider, an empty body offers a first draft. See Connecting an AI provider to set one up.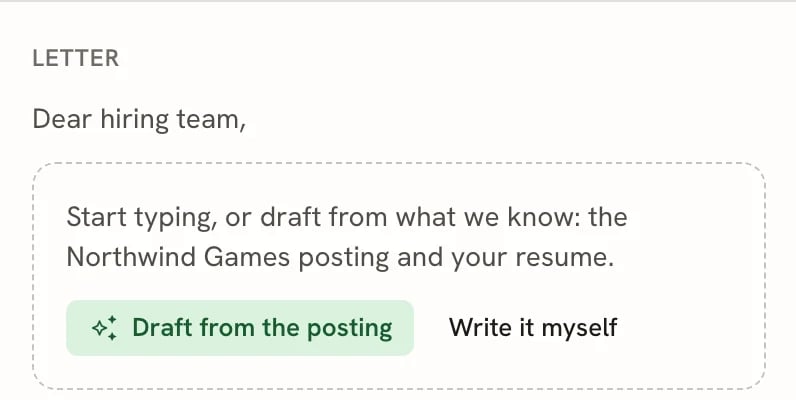
1
Start the draft
Select Draft from the posting when the letter is linked to an application, or Draft from your resume when it
only has a resume. The draft uses only what the letter is linked to: the posting, your resume, or both. Select
Stop to cancel it while it’s being written.
2
Refine it
When the draft is ready, ask for Shorter or More personal versions, or select Discard to drop it.
3
Keep it
Select Keep to put the draft in the body. Until you do, the draft never replaces anything, and you can edit it
freely afterwards.
Match your resume’s design
By default, a letter linked to a resume uses the resume’s template, type and colors, so the two always look like a pair. When you change the resume’s design, the letter follows.1
Open Design
Select Design in the editor bar, or press 2.
2
Keep it matching, or give it its own design
With Match turned on, the letter follows the resume. Select Change the resume’s design to open the resume in Design.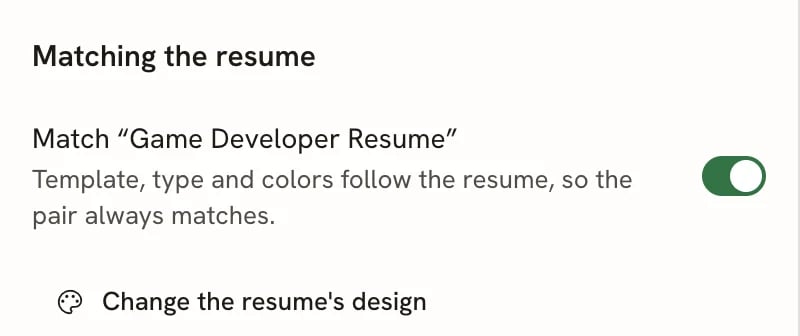
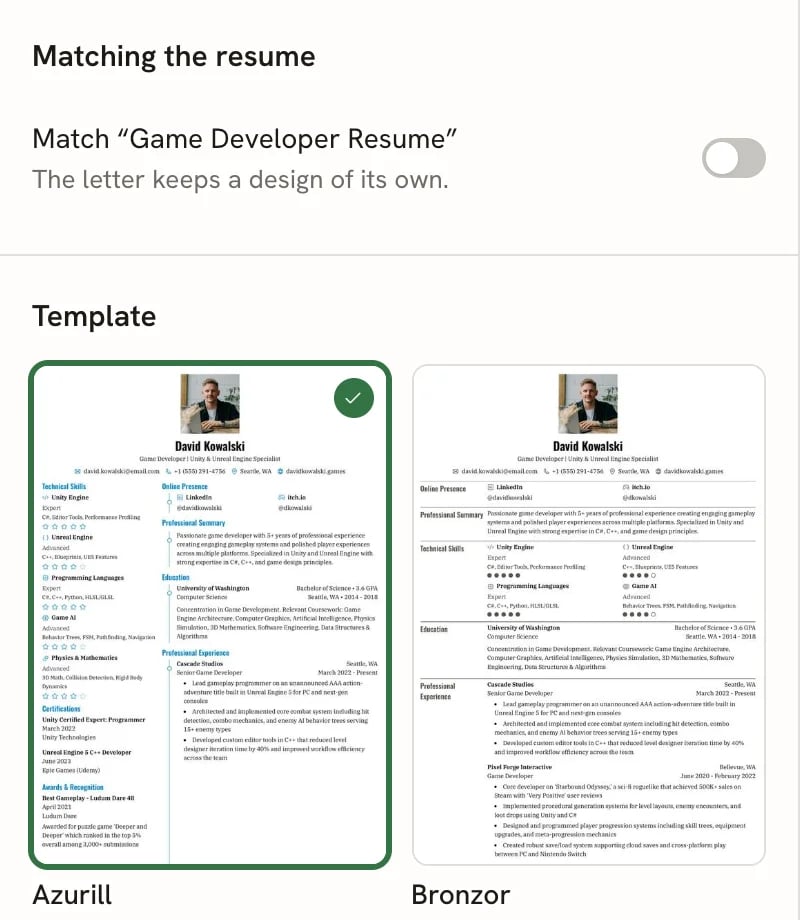
template or metadata gives it its own design and turns matching off. Set designLinked: true in a later update to resume matching.
Download the letter
Select Download PDF in the editor bar, or press ⌘ P (Ctrl P). The PDF includes the header with your name and contact details, and is named after you, for exampleDavid-Kowalski-Cover-Letter.pdf.
For other formats, select Share, or press ⌘ Shift E (Ctrl Shift E). The Share & export sheet opens on Download:
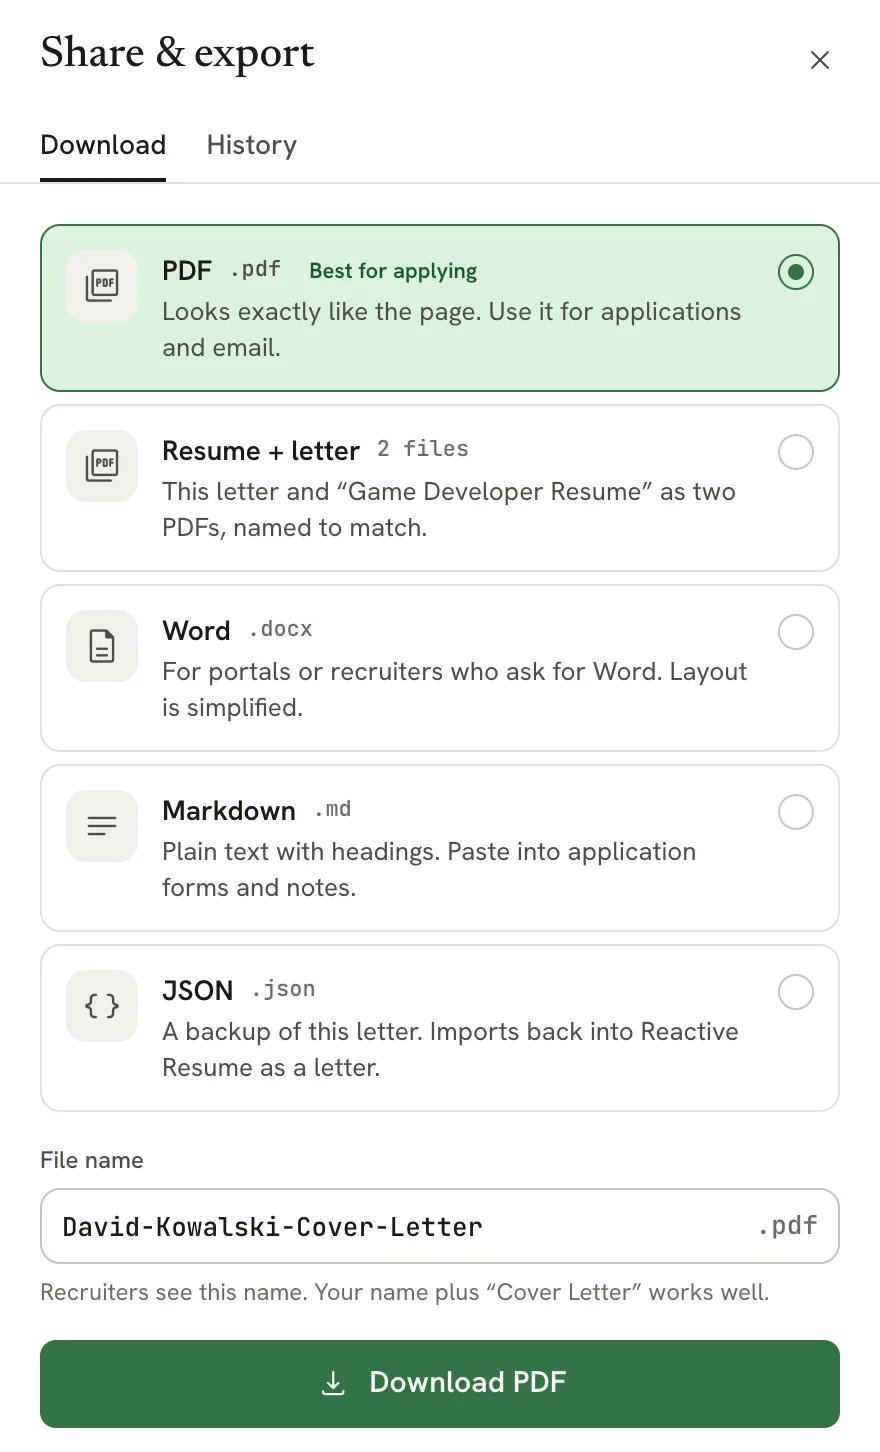
Download options for a letter
Edit File name if you like, then select the download button.
Letters have no public link. To share one, download it and attach the file.
When you download a resume from its own Share sheet and the resume’s application has a letter, you can also tick Also download the … cover letter (the label names the company) to get both files at once. See Exporting your resume.
Letters and applications
- Each application has one letter. If you link a letter to an application that already has one, the new letter takes its place.
- When the application moves to Applied or a later stage, the letter as it reads then is saved in its History as the version you sent. The application shows it under What you sent as “Version sent” with the date.
- In Documents, a letter’s menu has Link to application… to link or unlink it without opening it.
Manage a letter
Select the letter’s name in the editor bar to Rename…, Duplicate, Lock editing or Move to Trash. A locked letter can’t be edited until you select Unlock editing. A letter in Trash can be restored for 30 days; see Using the trash.In earlier versions, a cover letter could be a section inside a resume. Those letters are now letters of their own in
Documents, named after the resume and the letter (for example “Frontend Resume — Cover Letter”), still linked to
the resume’s details and design. The resume no longer contains them. These older letters keep their recipient block as
you wrote it under To, instead of separate name, company and date fields.
Related guides
Tailoring a resume for a job
Copy a resume for an application and write its letter.
Managing an application
Track stages, what you sent and next steps.
Choosing a template
Pick the design your resume and letter share.
Checking your resume before you apply
Make sure software can read the resume you send with your letter.