

Open the template gallery
1
Open your resume
From Documents, open the resume you want to change.
2
Switch to Design
Select Design at the top of the editor, or press 2 while you are not typing in a field.
3
Find the Template group
Template is the first group in the Design panel. Use the row of links at the top of the panel (Template,
Type, Color, Page, Advanced) to jump between groups.
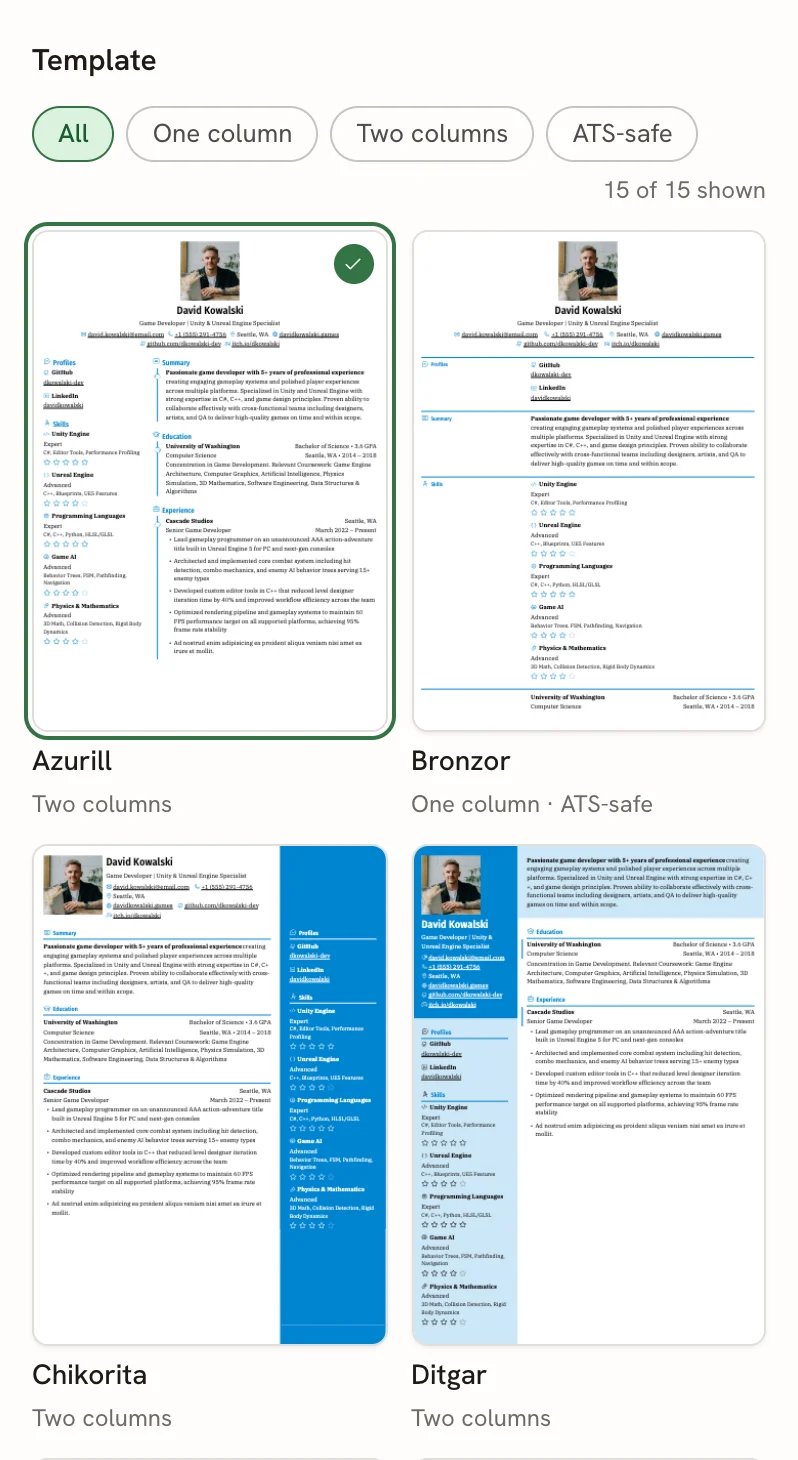
The template gallery, with filters and the current template checked
Filter the gallery
The chips above the thumbnails narrow the list:
The counter on the right (for example “7 of 17 shown”) tells you how many templates match.
Preview and apply a template
1
Preview it on the page
Hover over a thumbnail, or move to it with Tab. The page on the right redraws in that template, and a
label above it reads “Previewing name · click to apply”. Nothing is saved yet.
2
Apply it
Click the thumbnail. The template is applied and a message confirms the change, with an Undo button if you
change your mind.
3
Or go back
Move the pointer away from the thumbnails, or press Esc, to return to your current template.
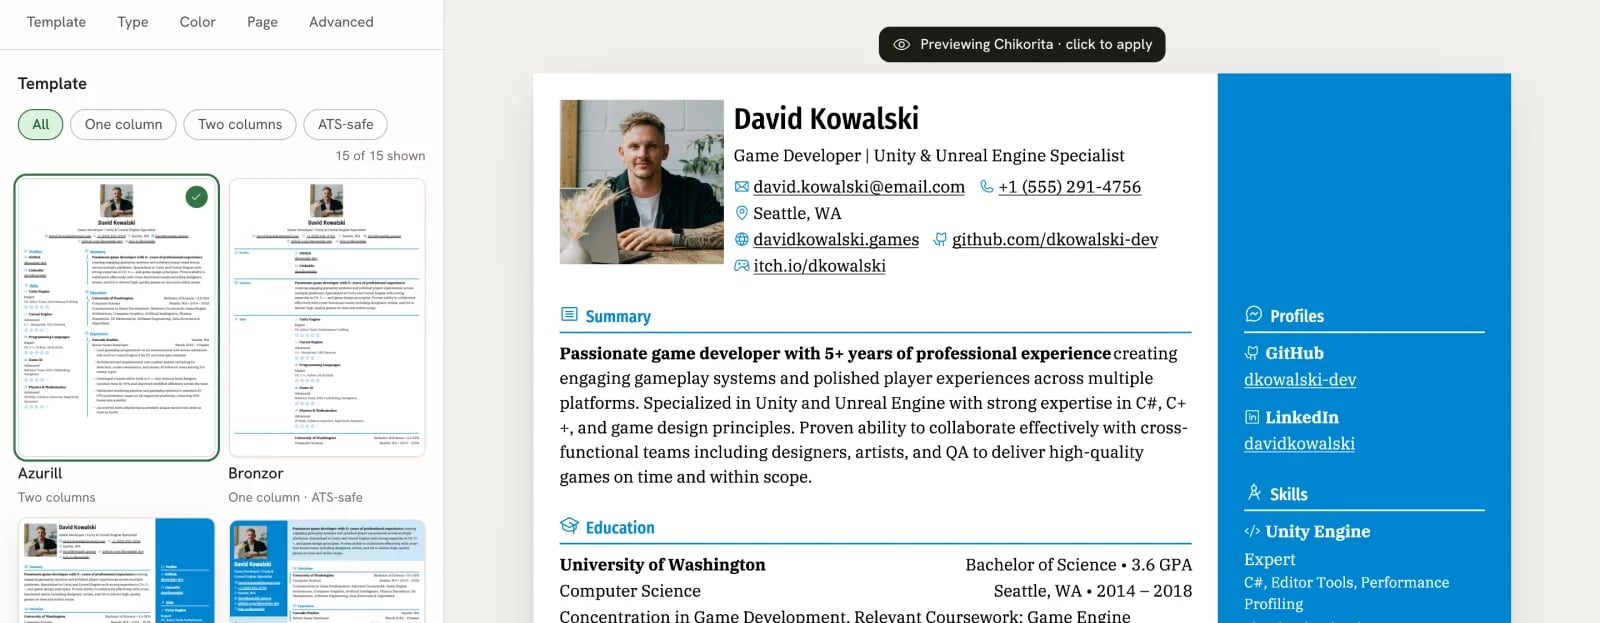
Hovering over Chikorita previews it on the page before you apply it
The 17 templates
All templates support the same sections and features. They differ only in how they arrange your information. The images below use the same resume in each template.
In a one-column template, sections you placed in the sidebar print after the main sections instead of beside them. Bronzor prints them as labelled rows. On two-column templates you can move the sidebar to the other side; see Arranging the layout.
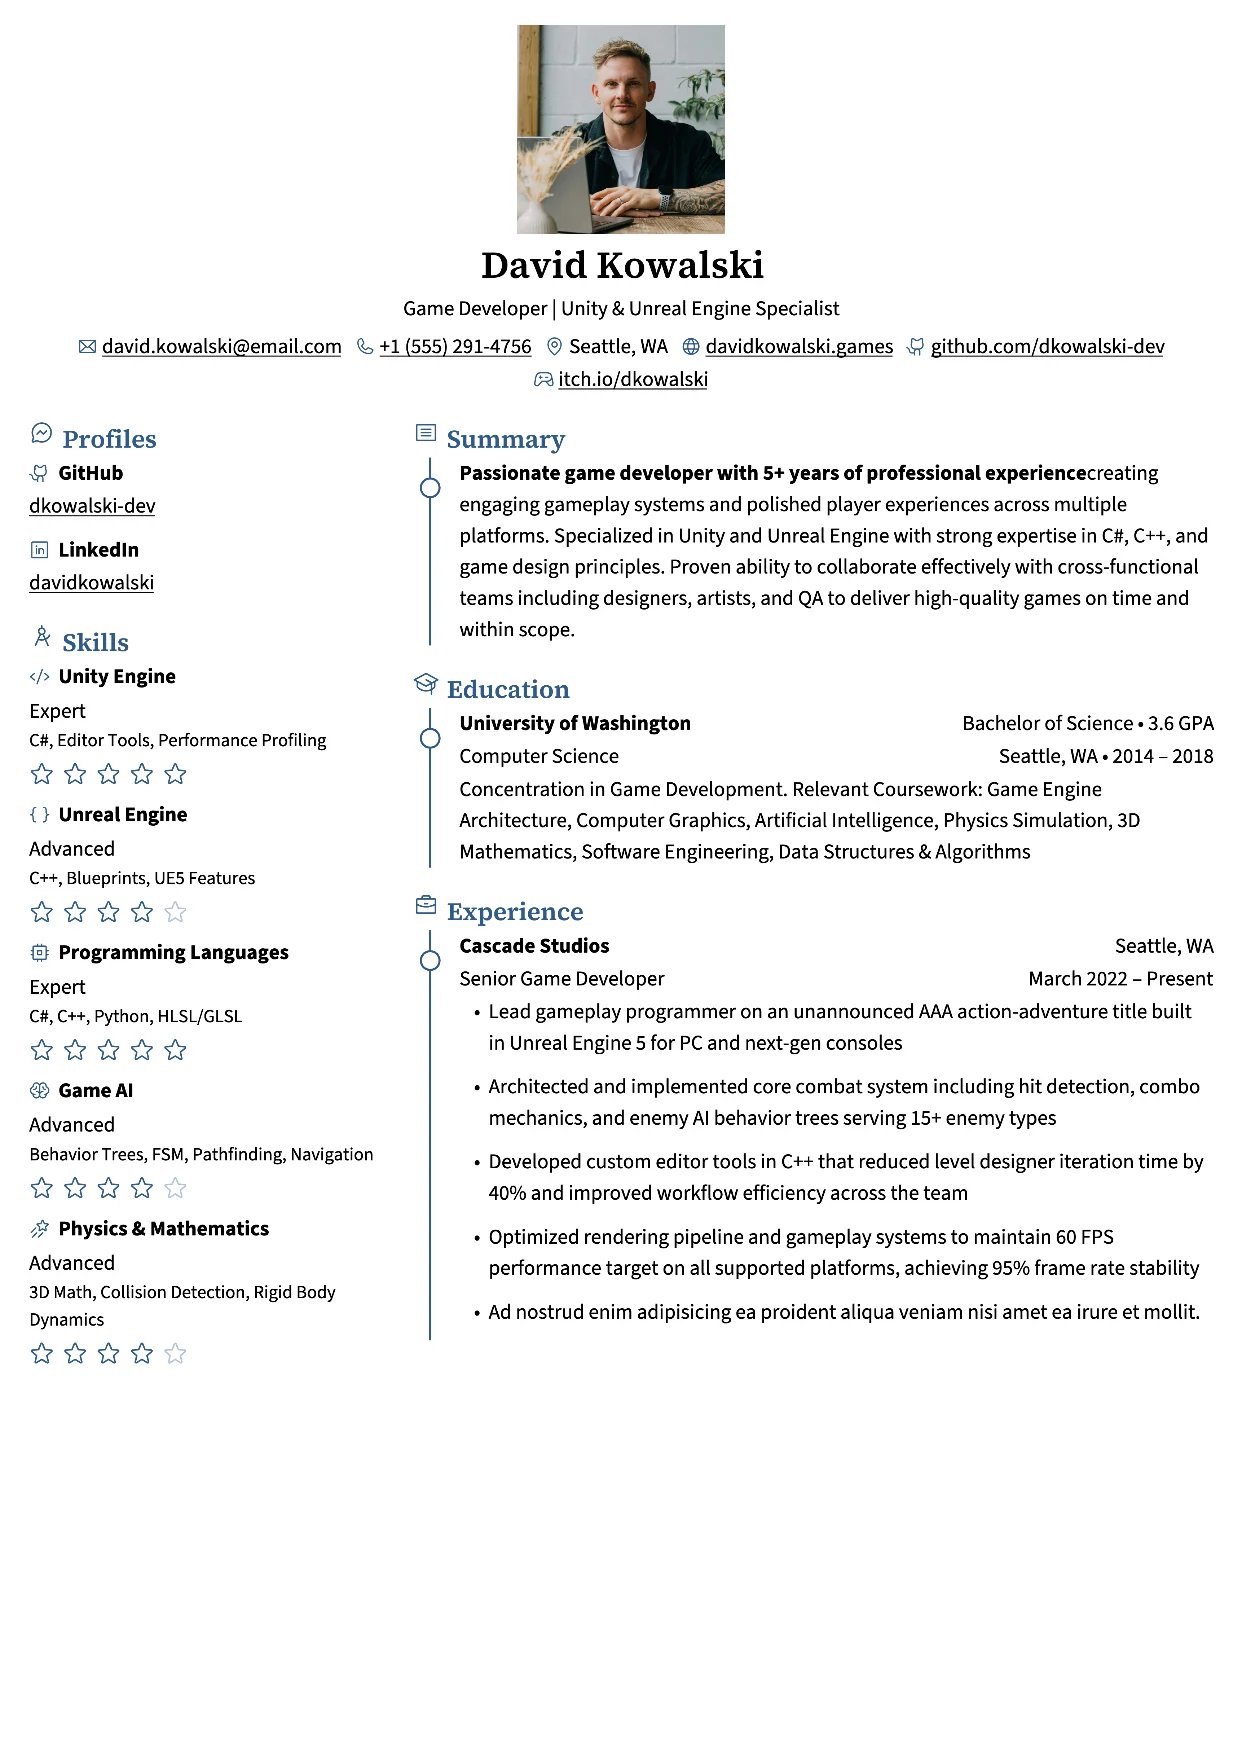
Azurill
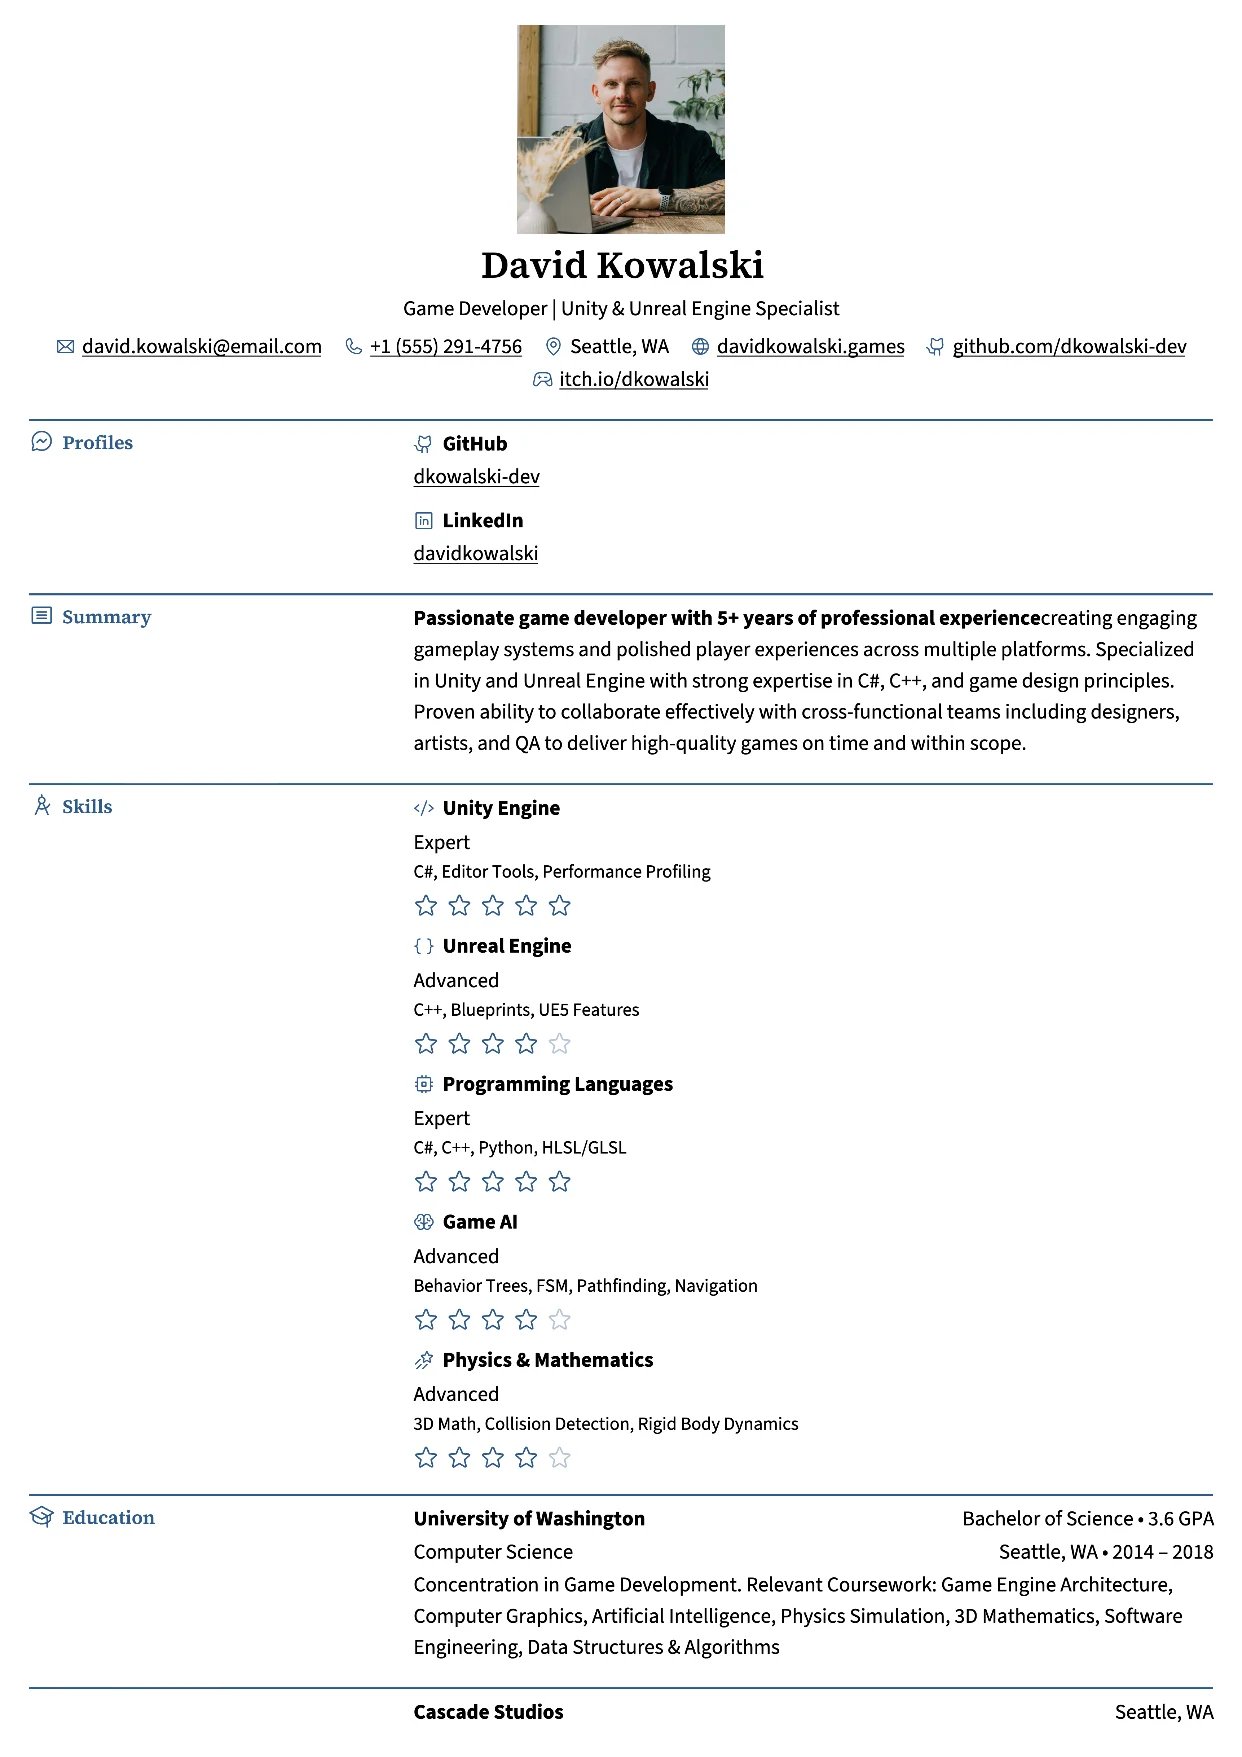
Bronzor
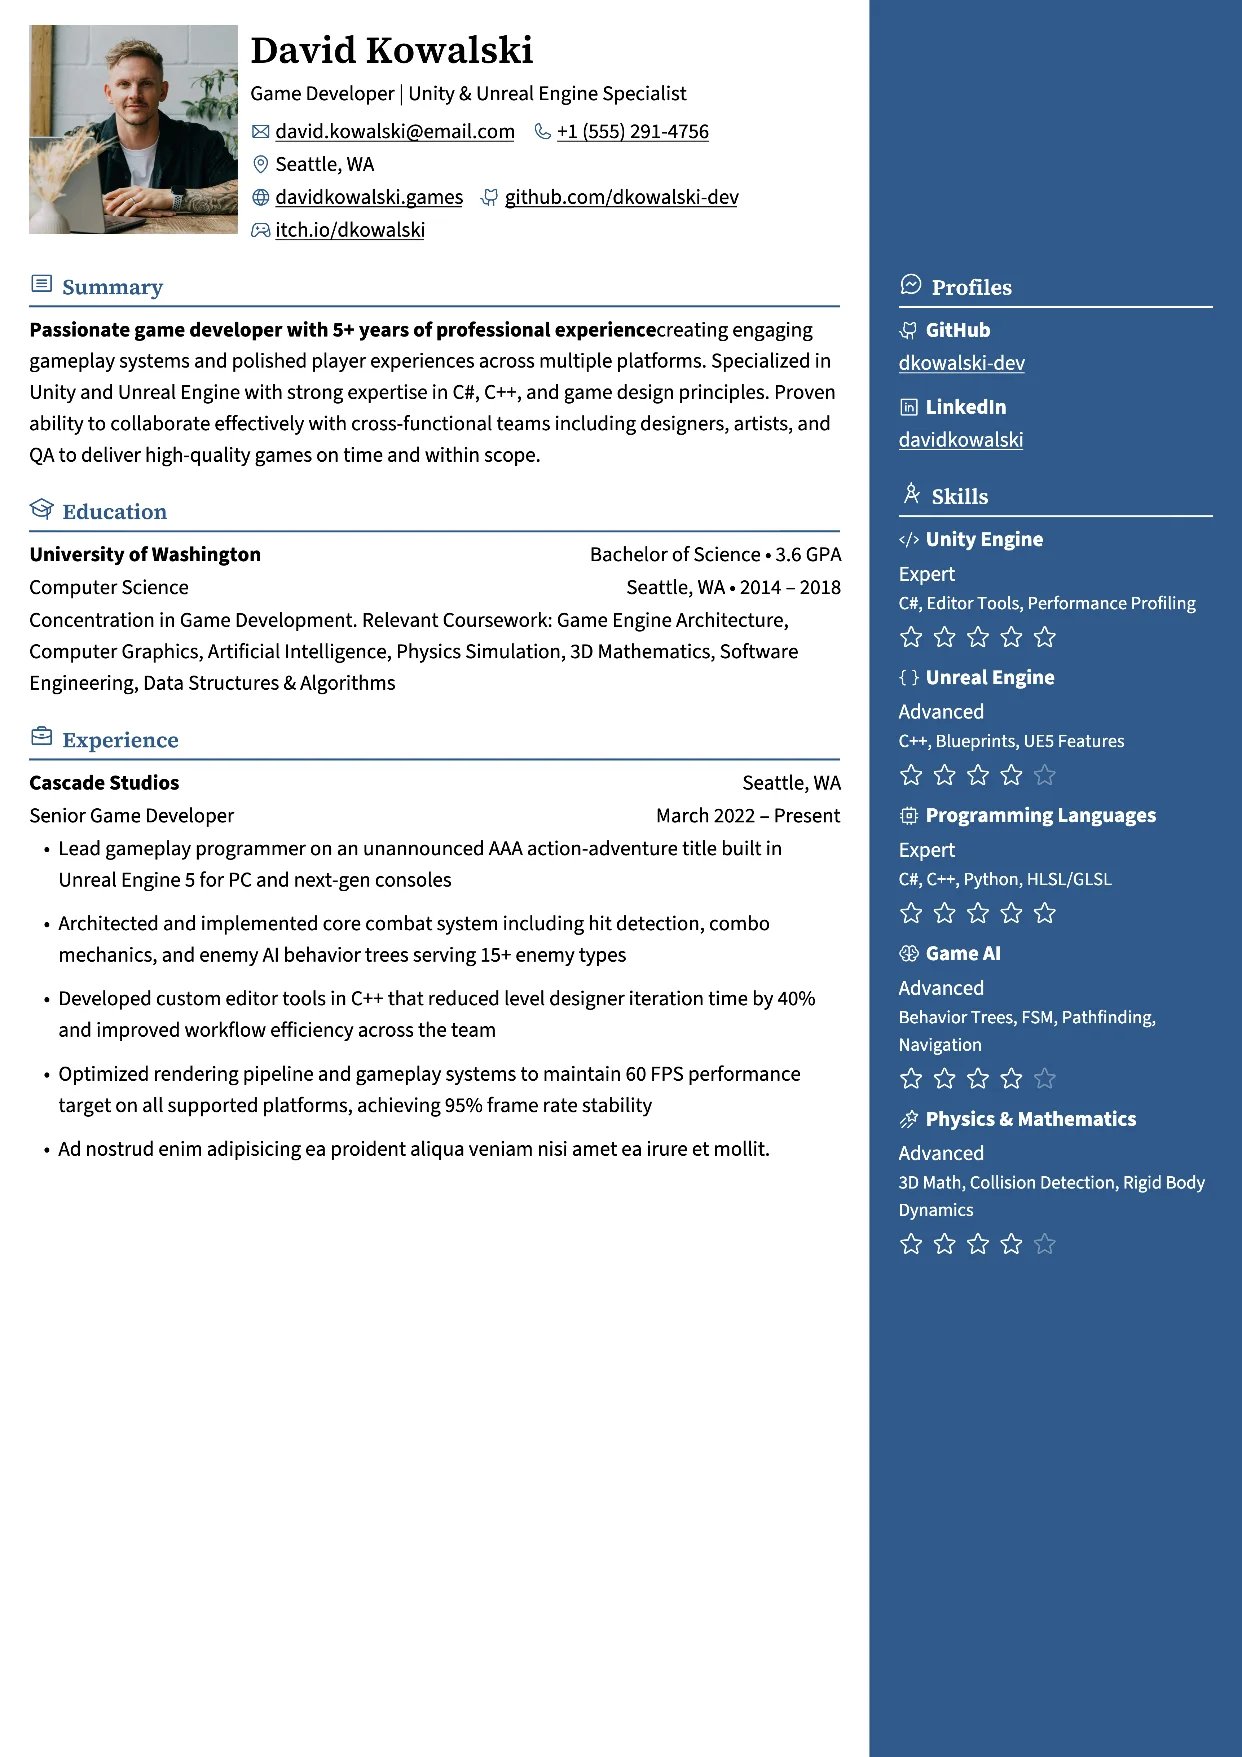
Chikorita
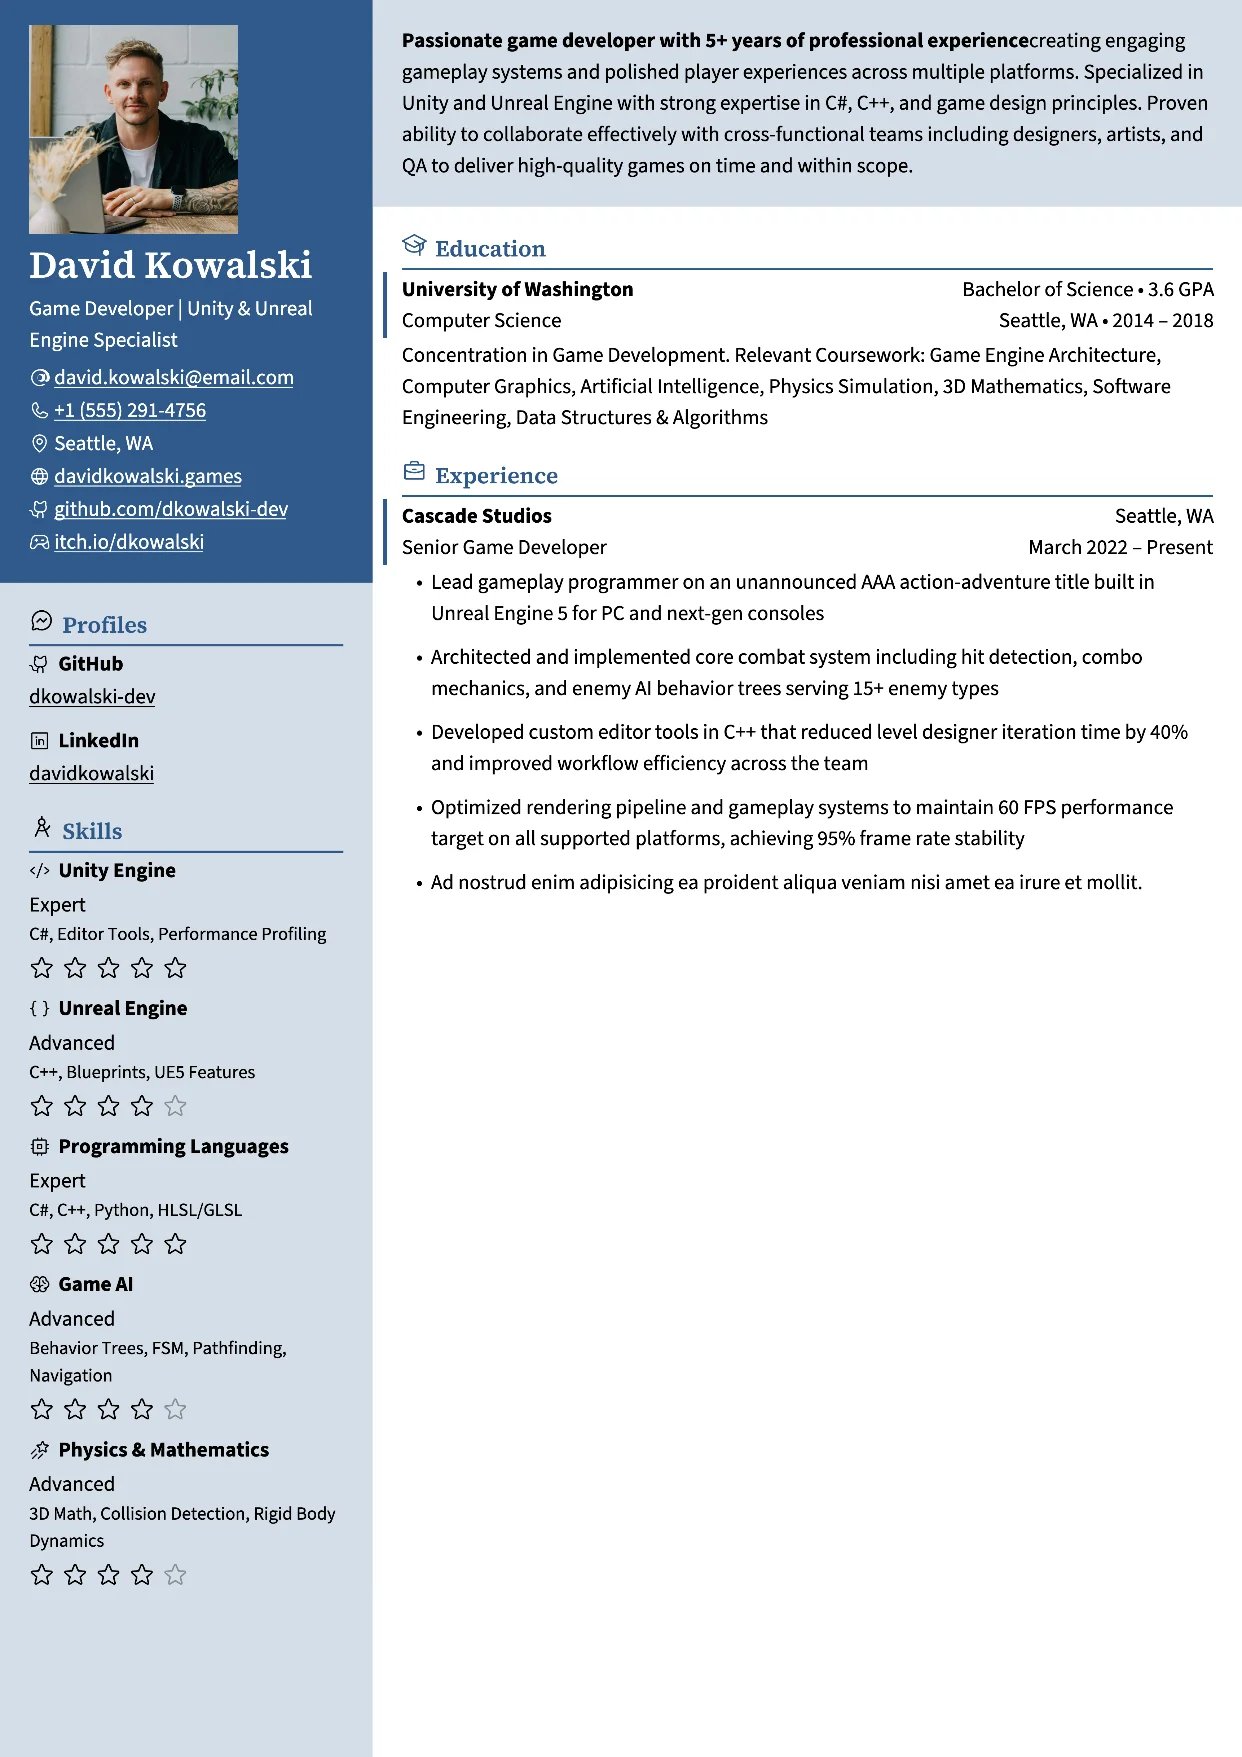
Ditgar
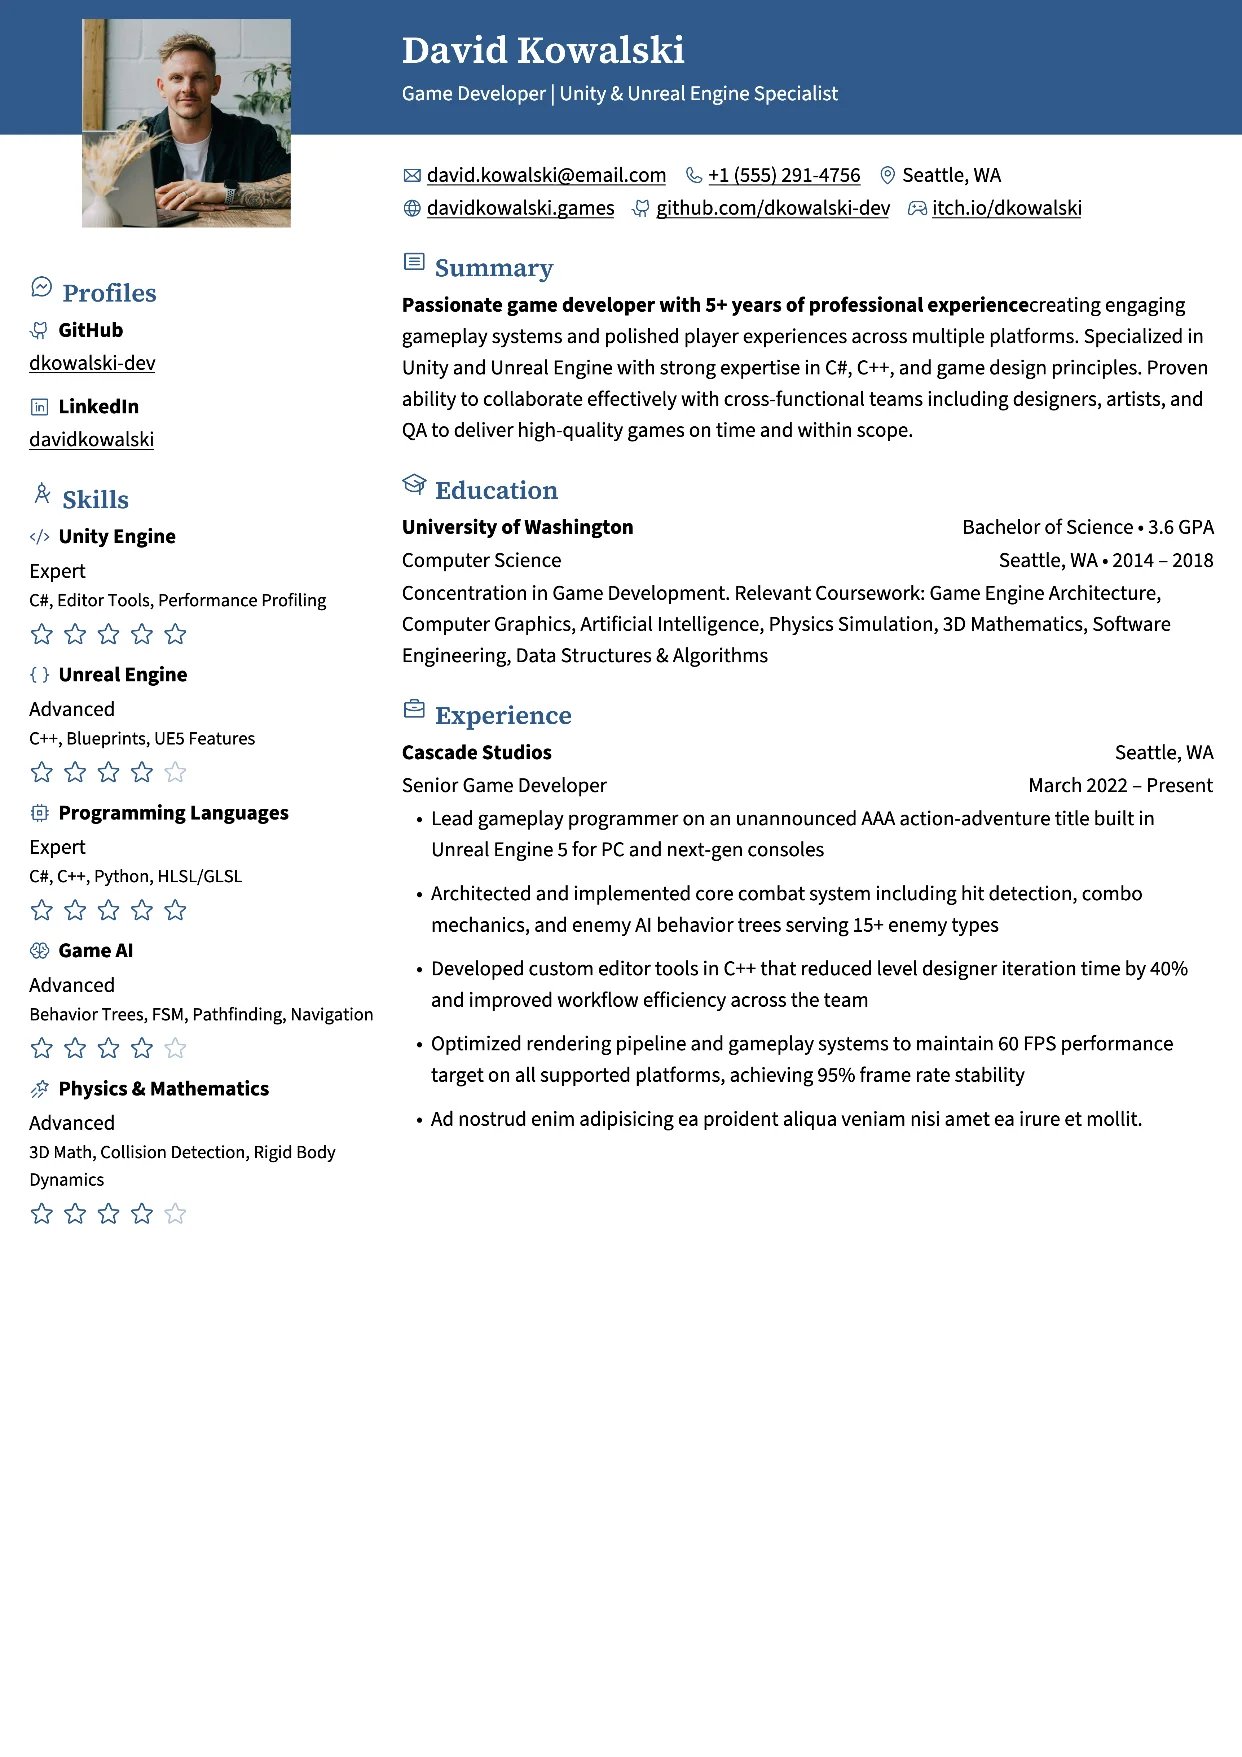
Ditto
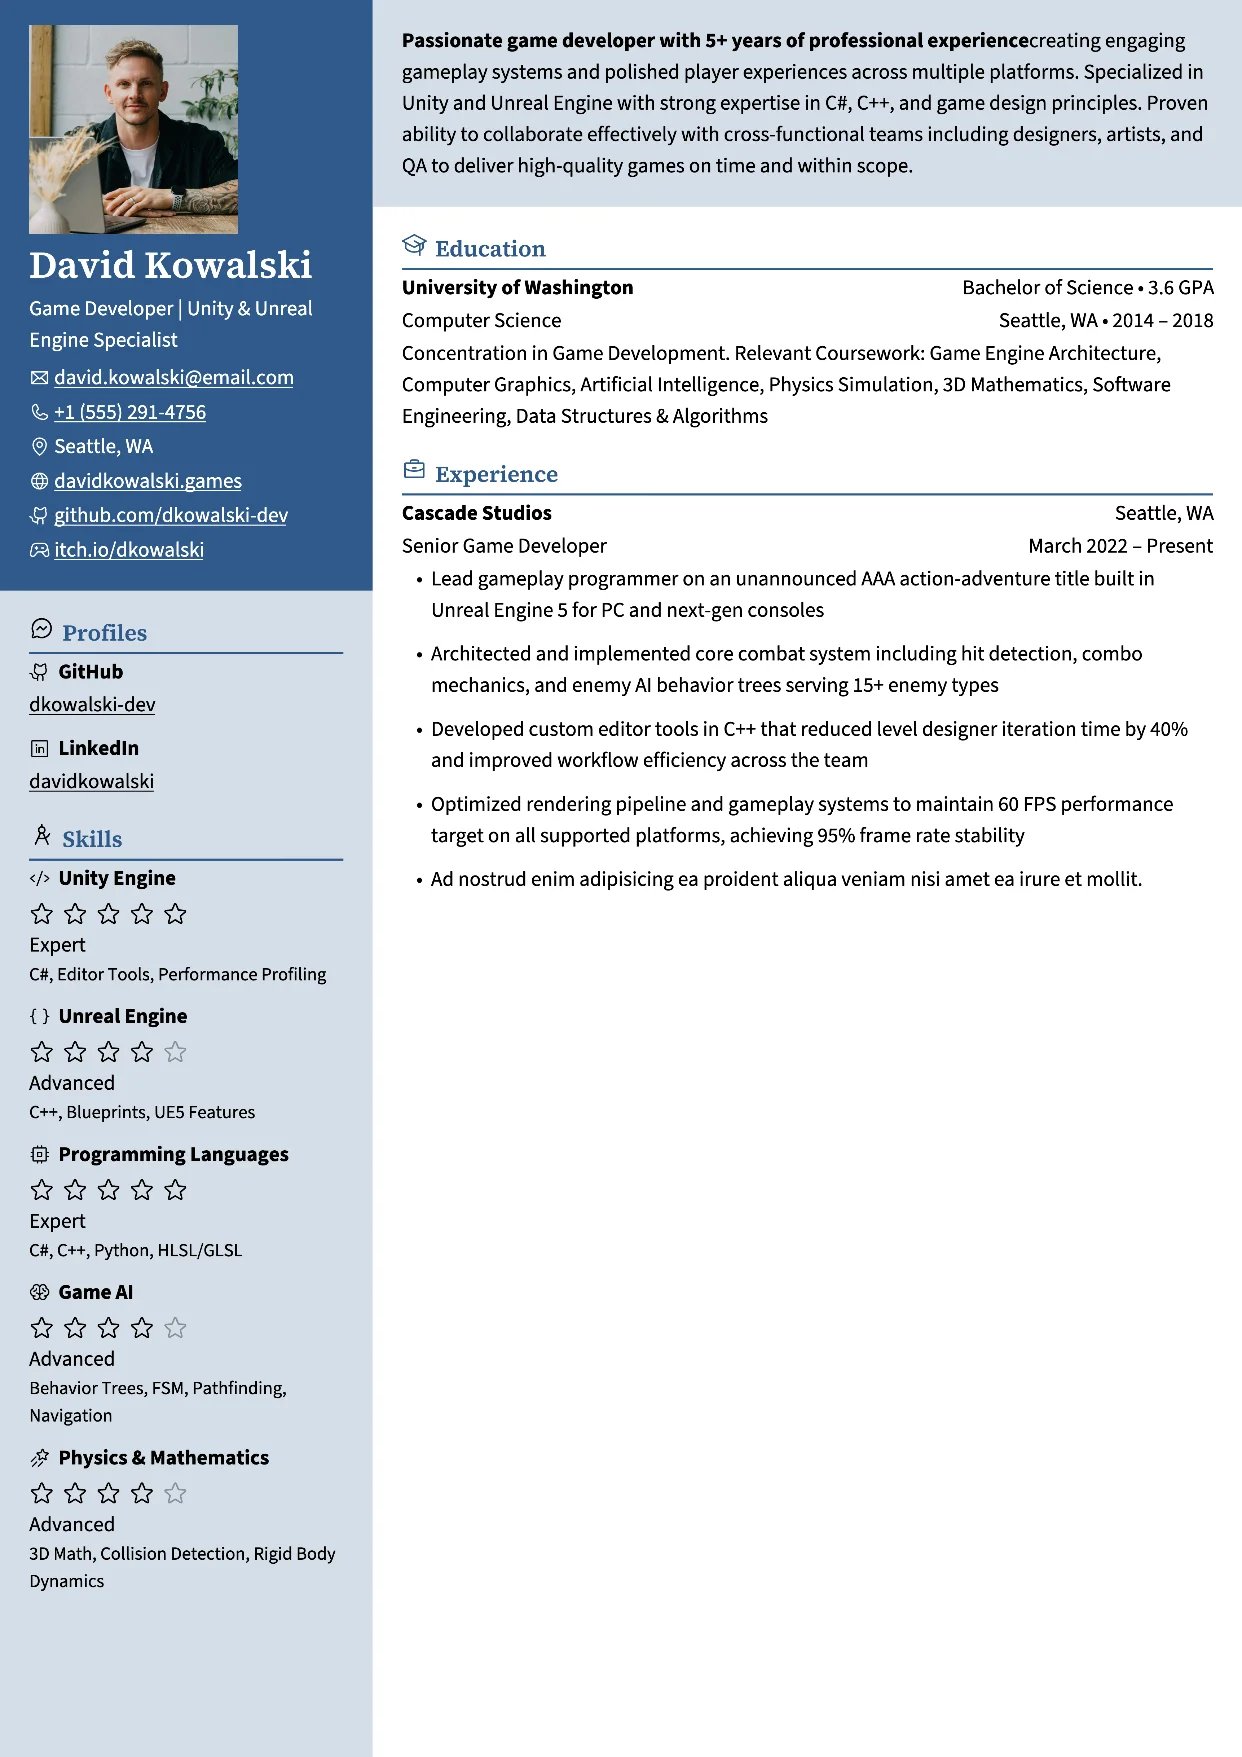
Gengar
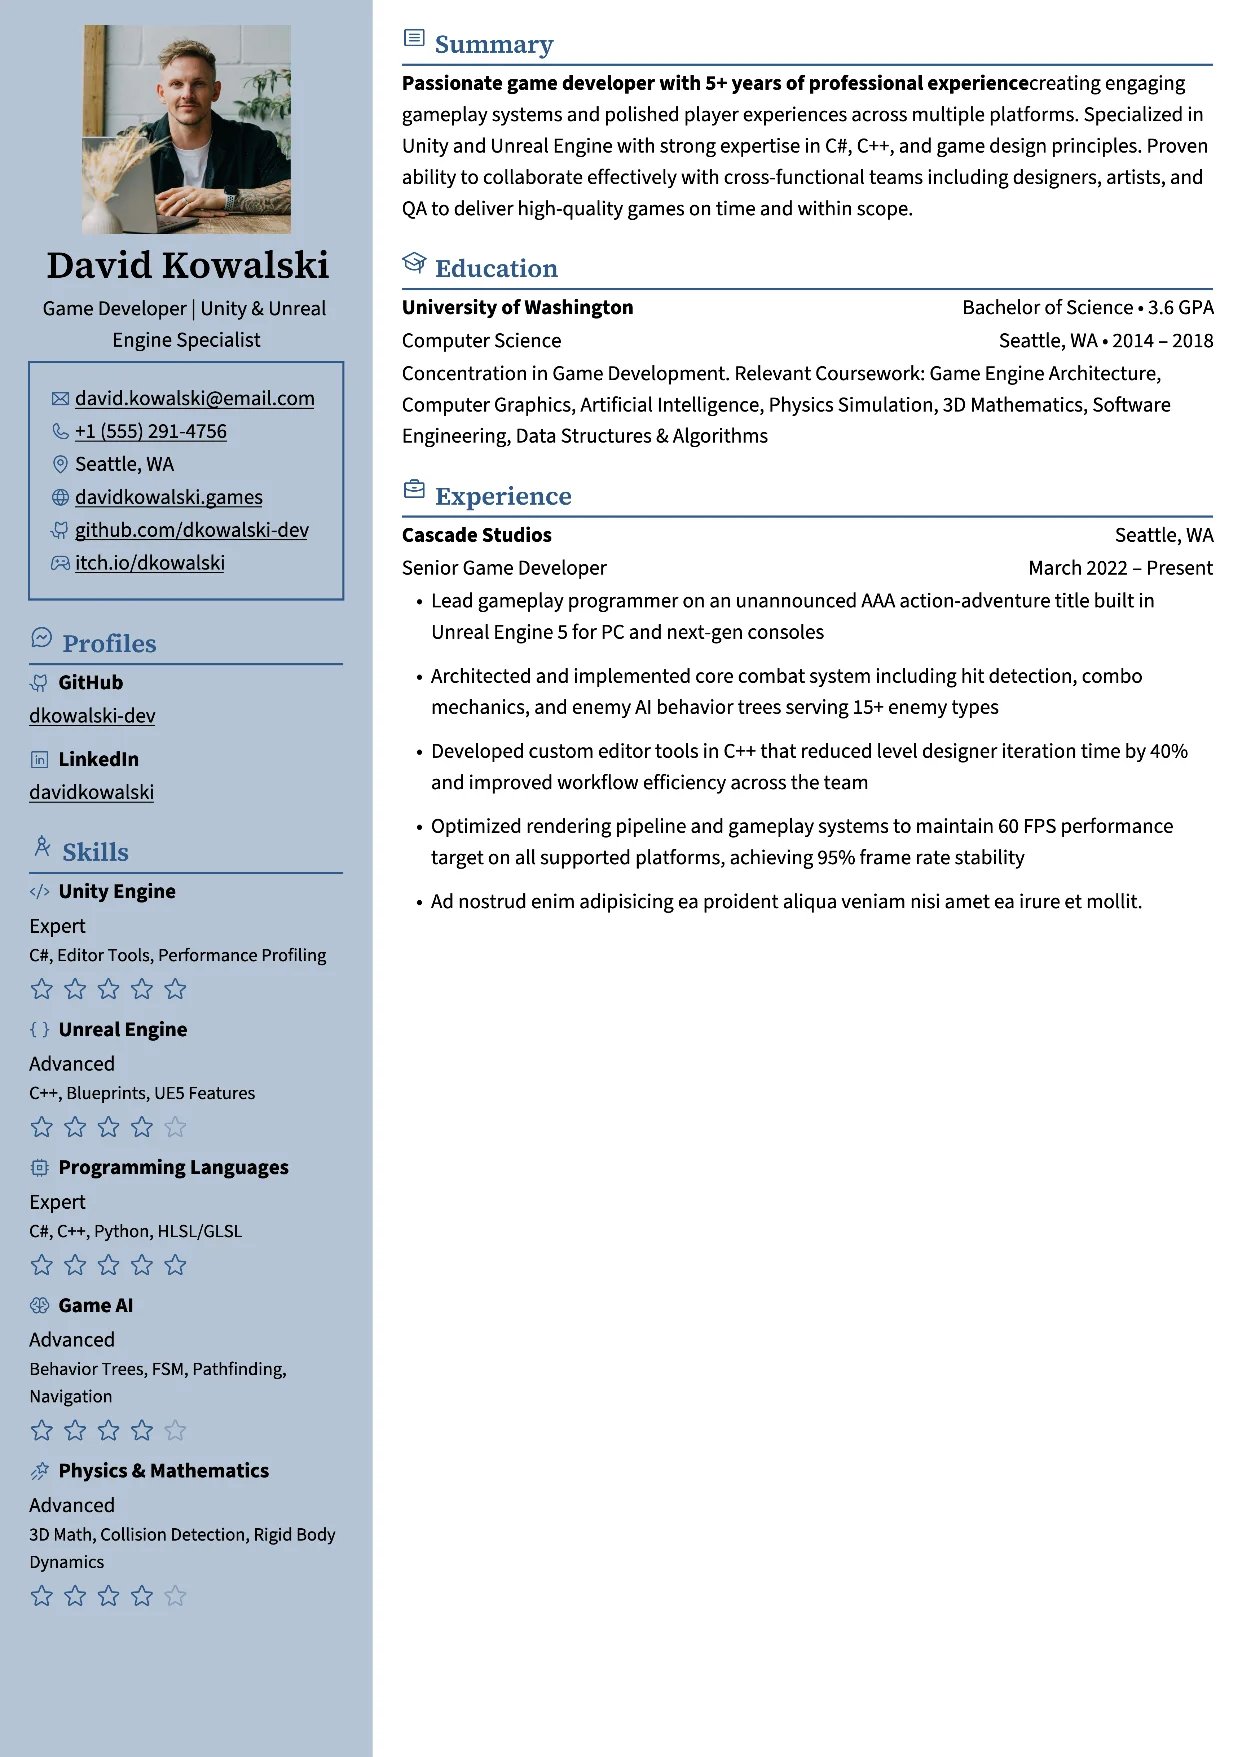
Glalie
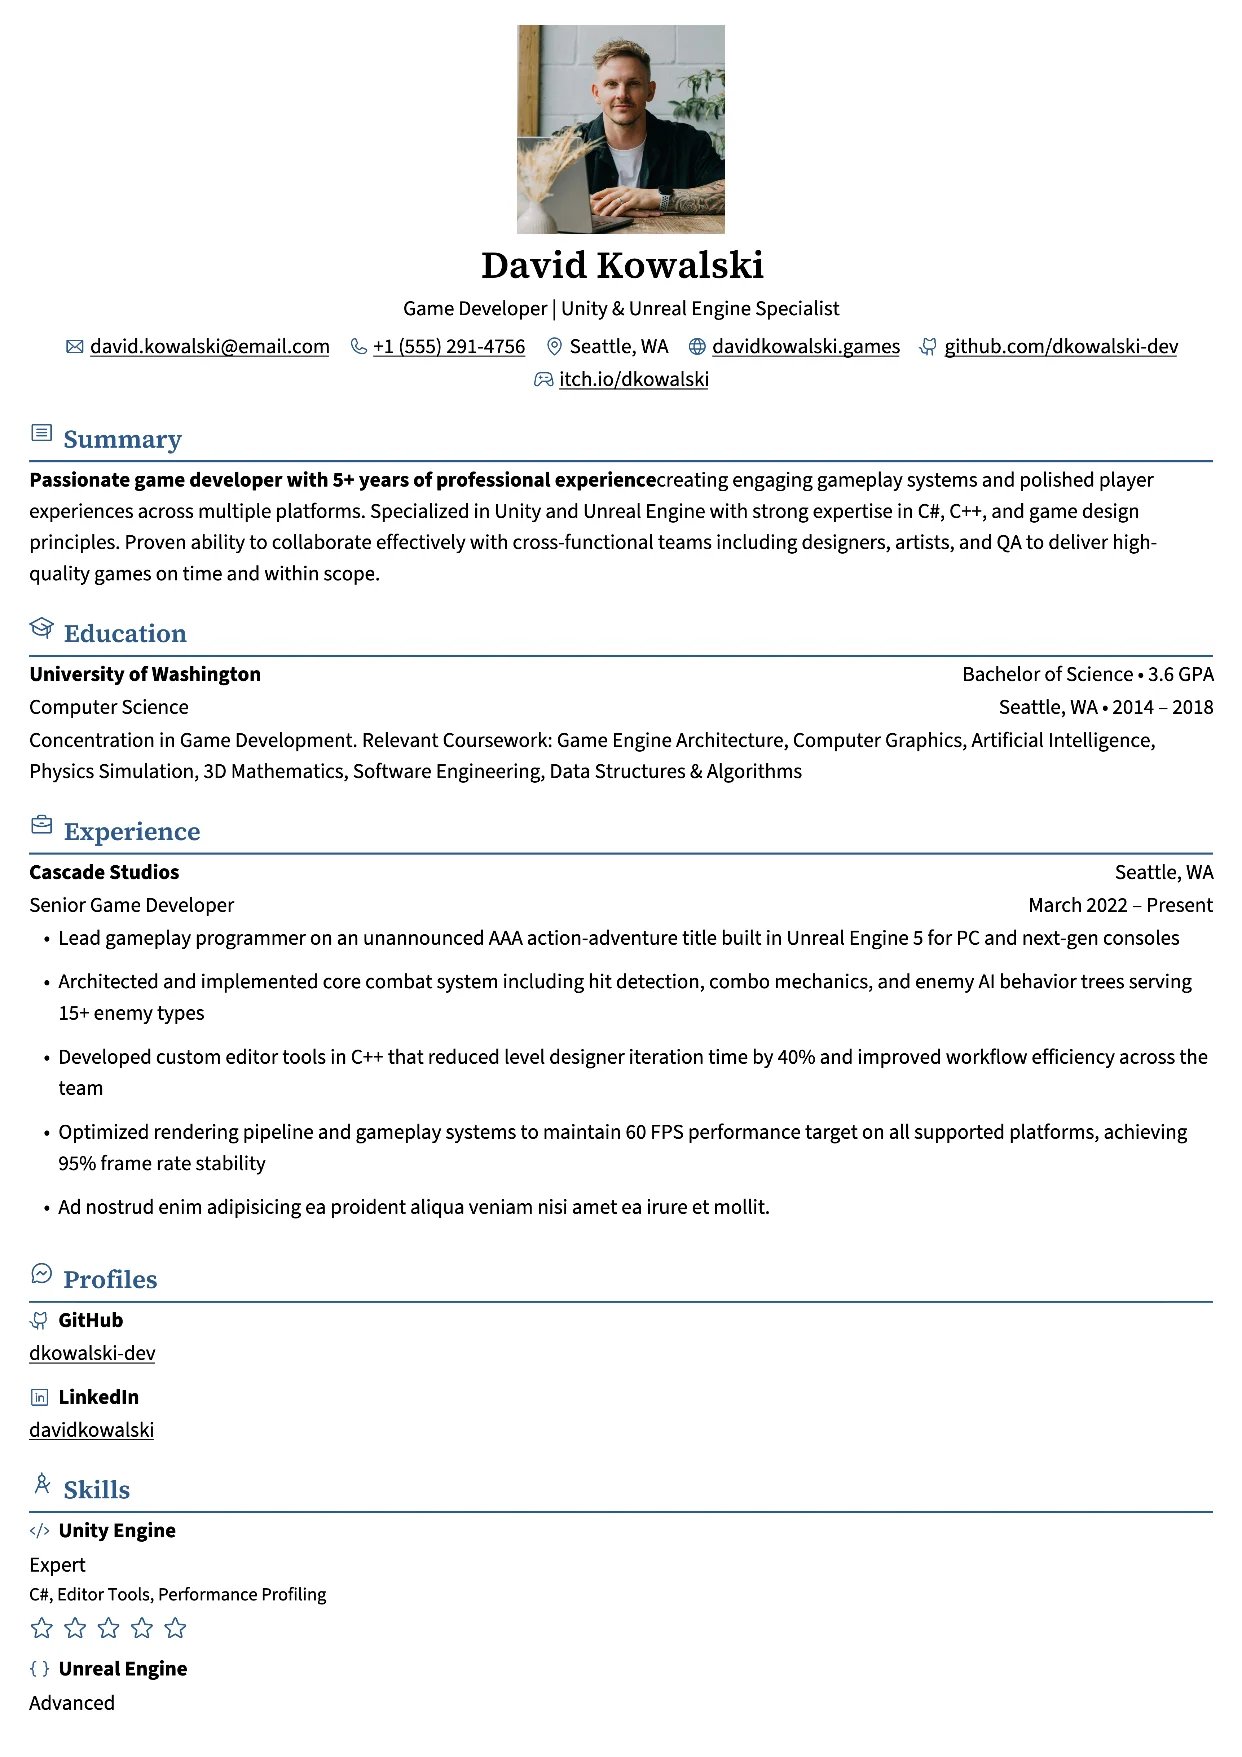
Kakuna
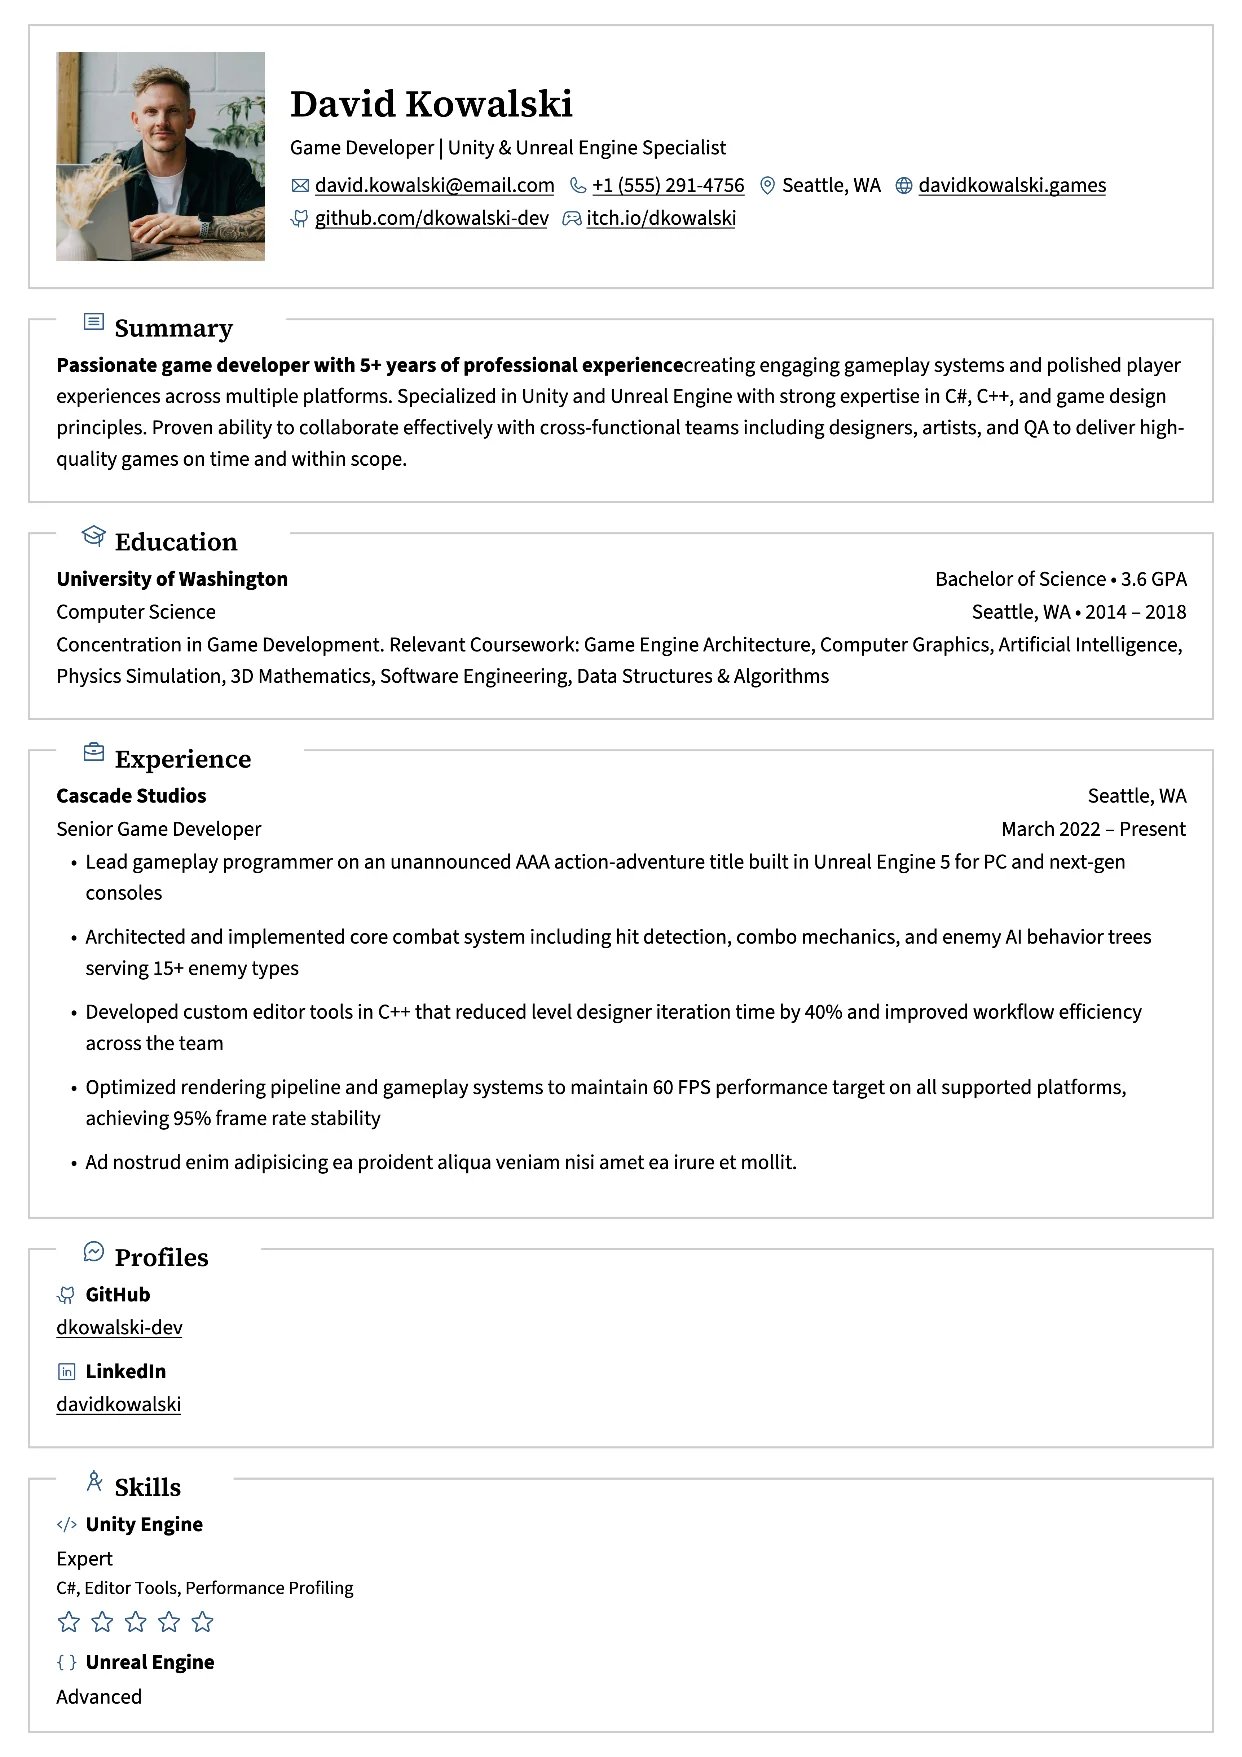
Lapras
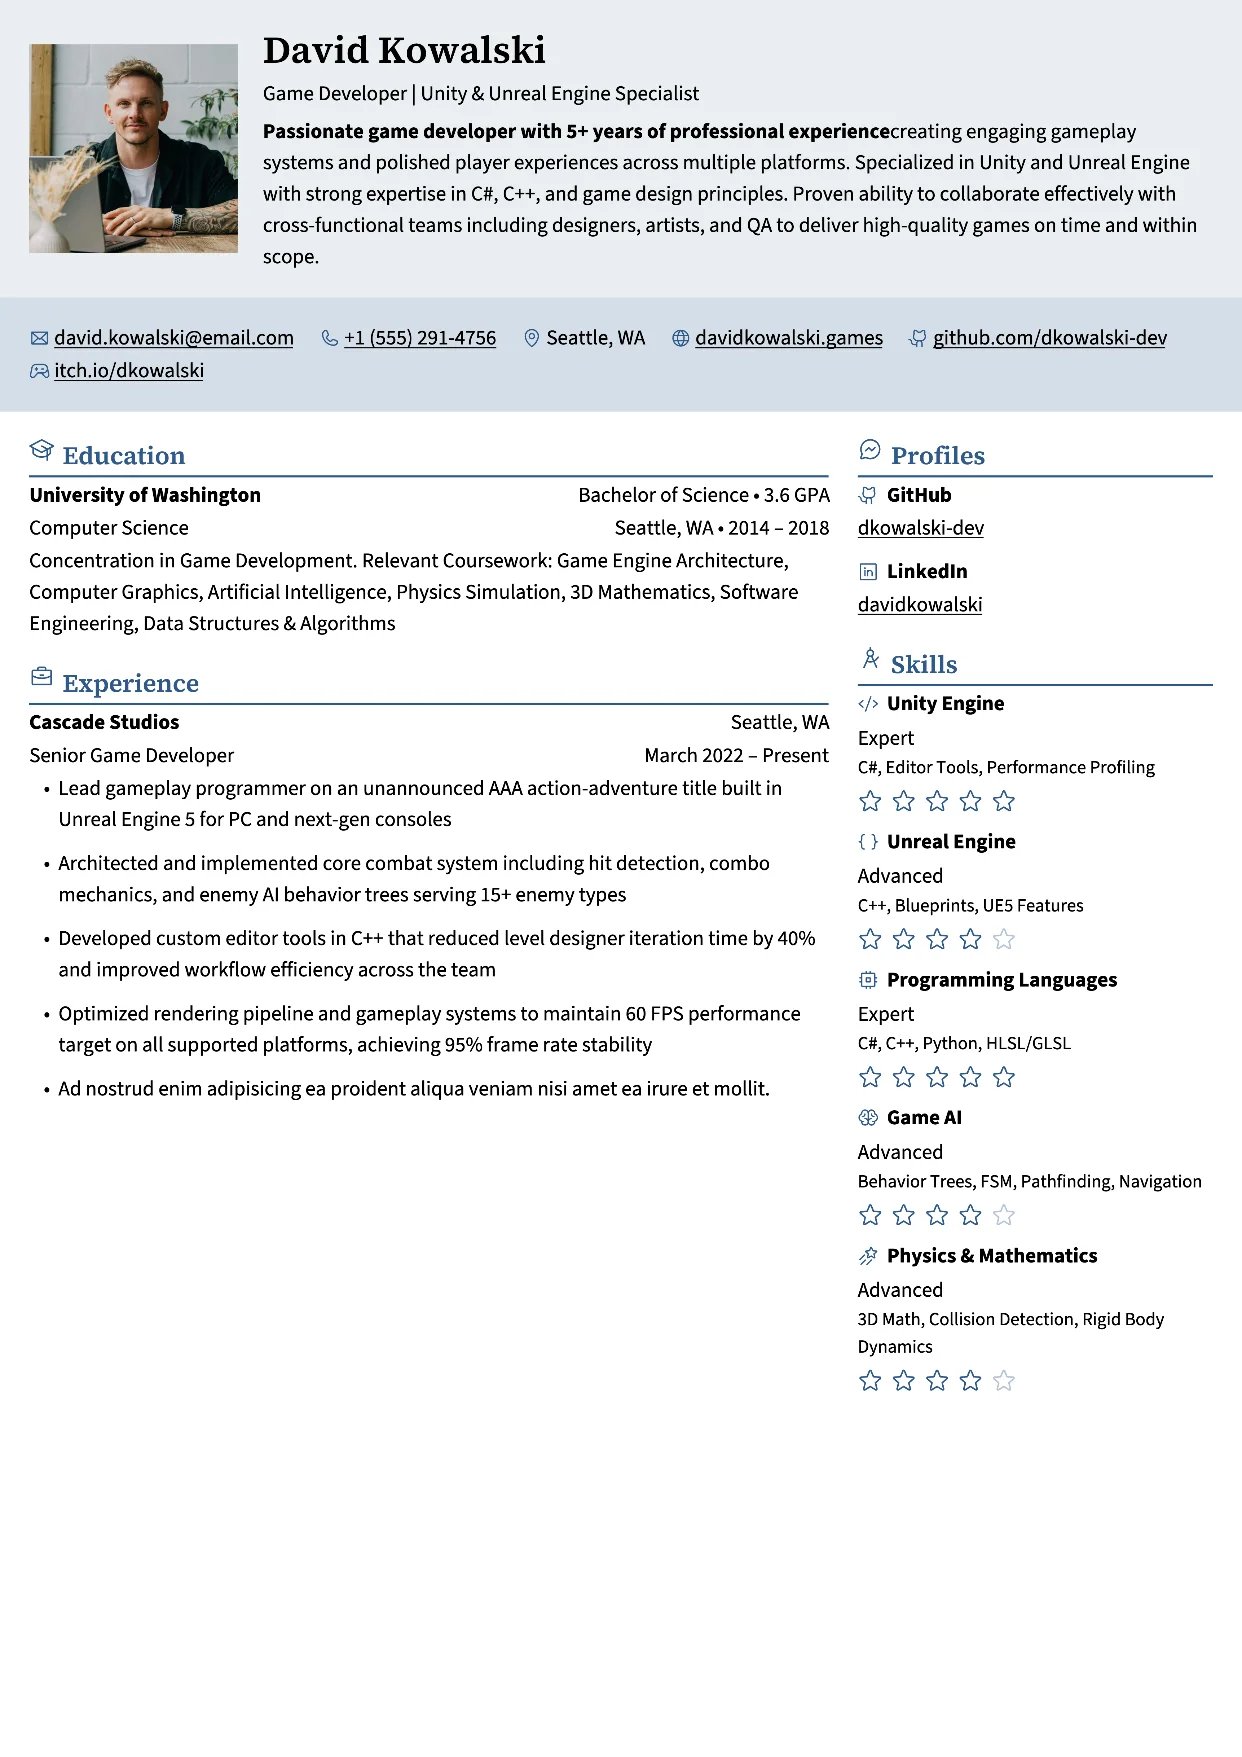
Leafish
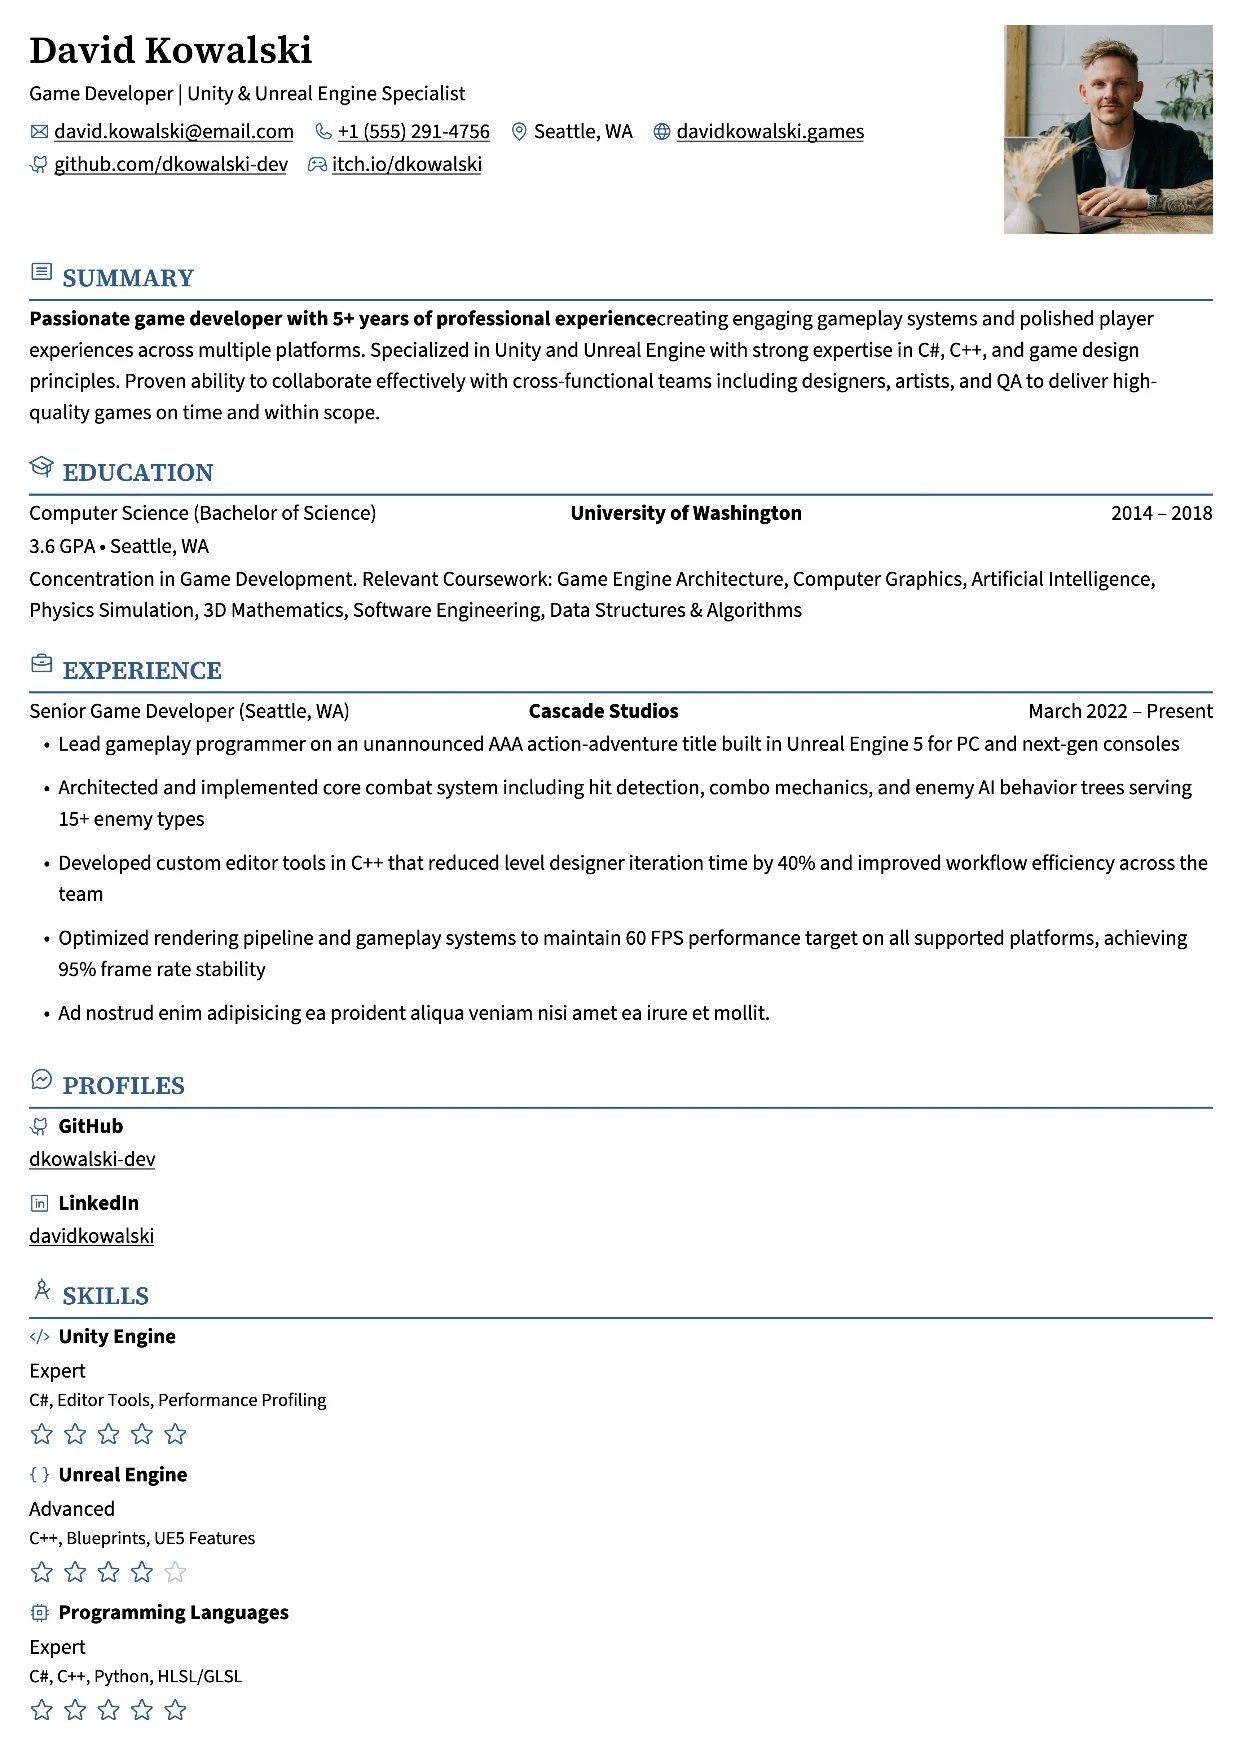
Meowth
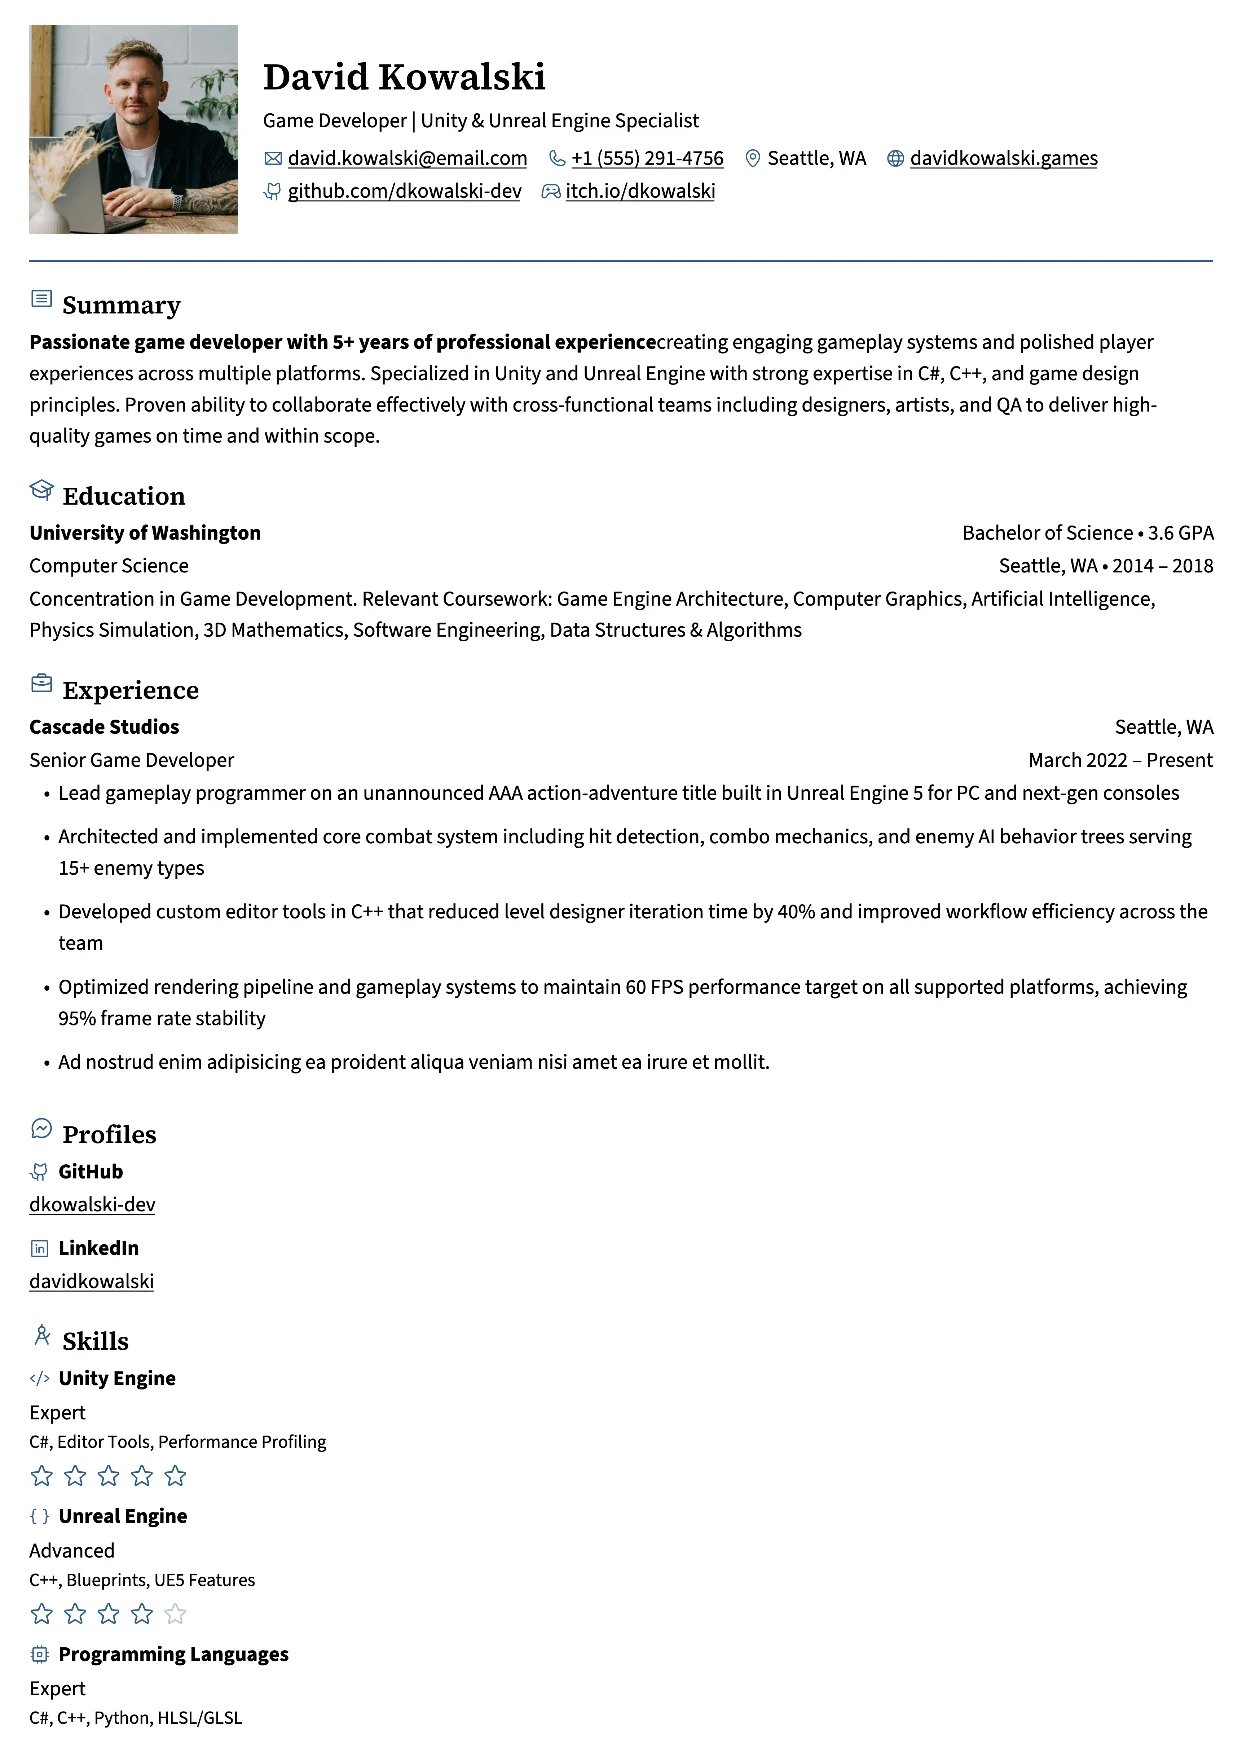
Onyx
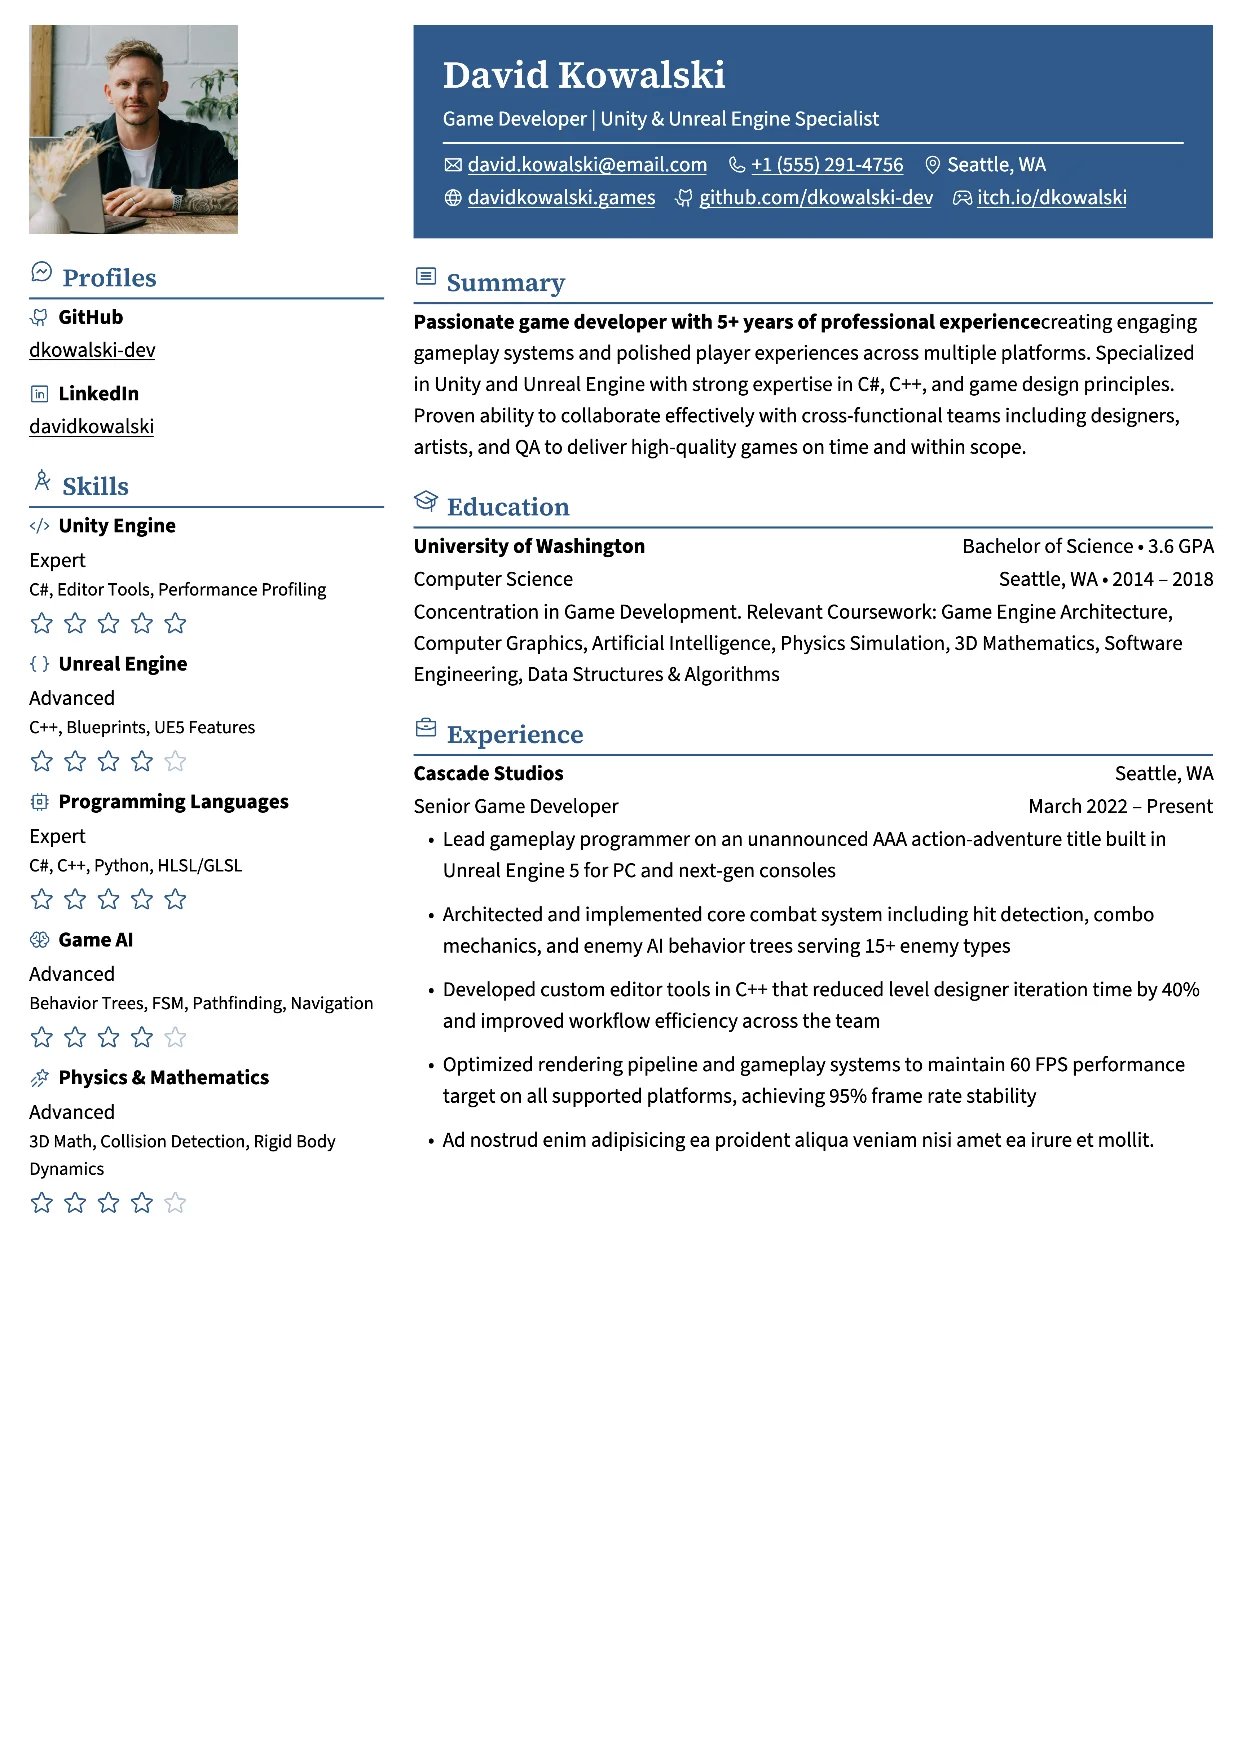
Pikachu
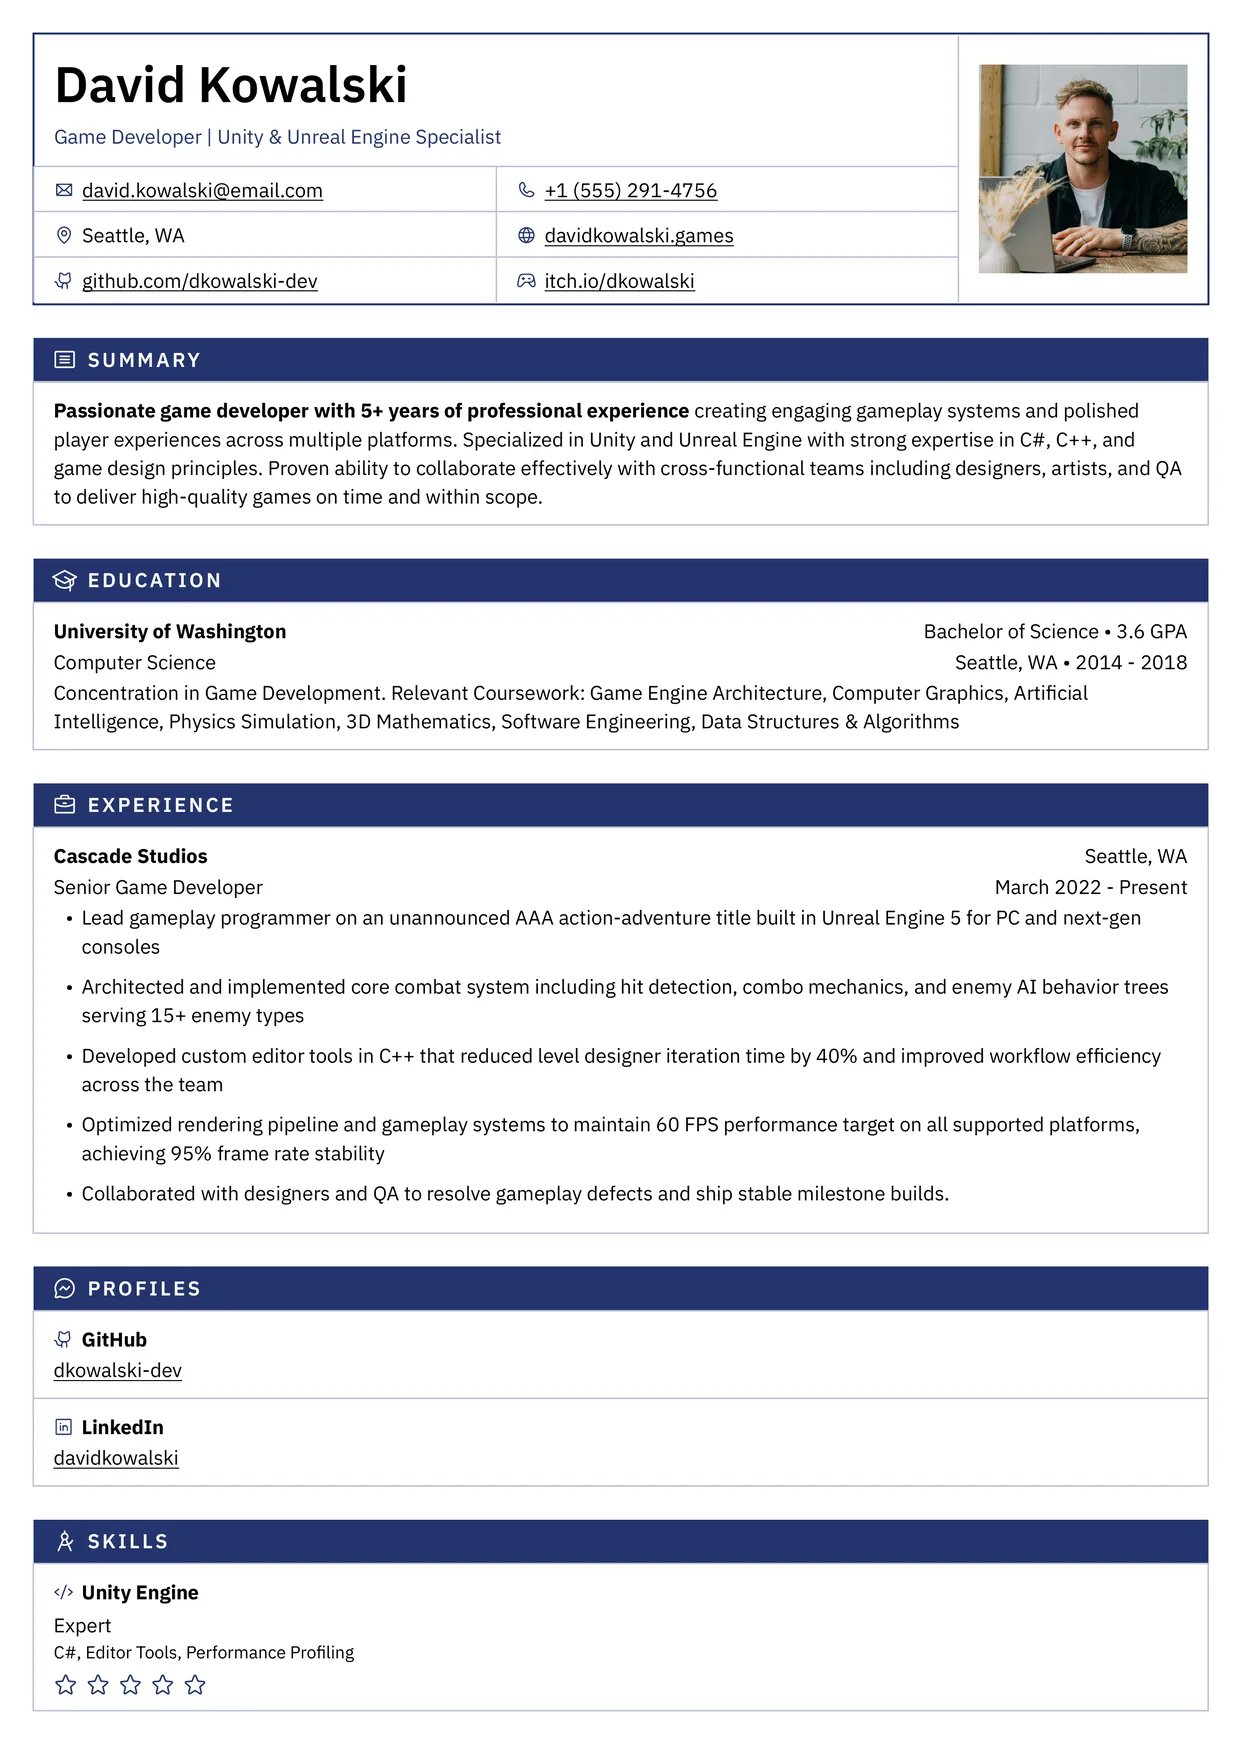
Porygon
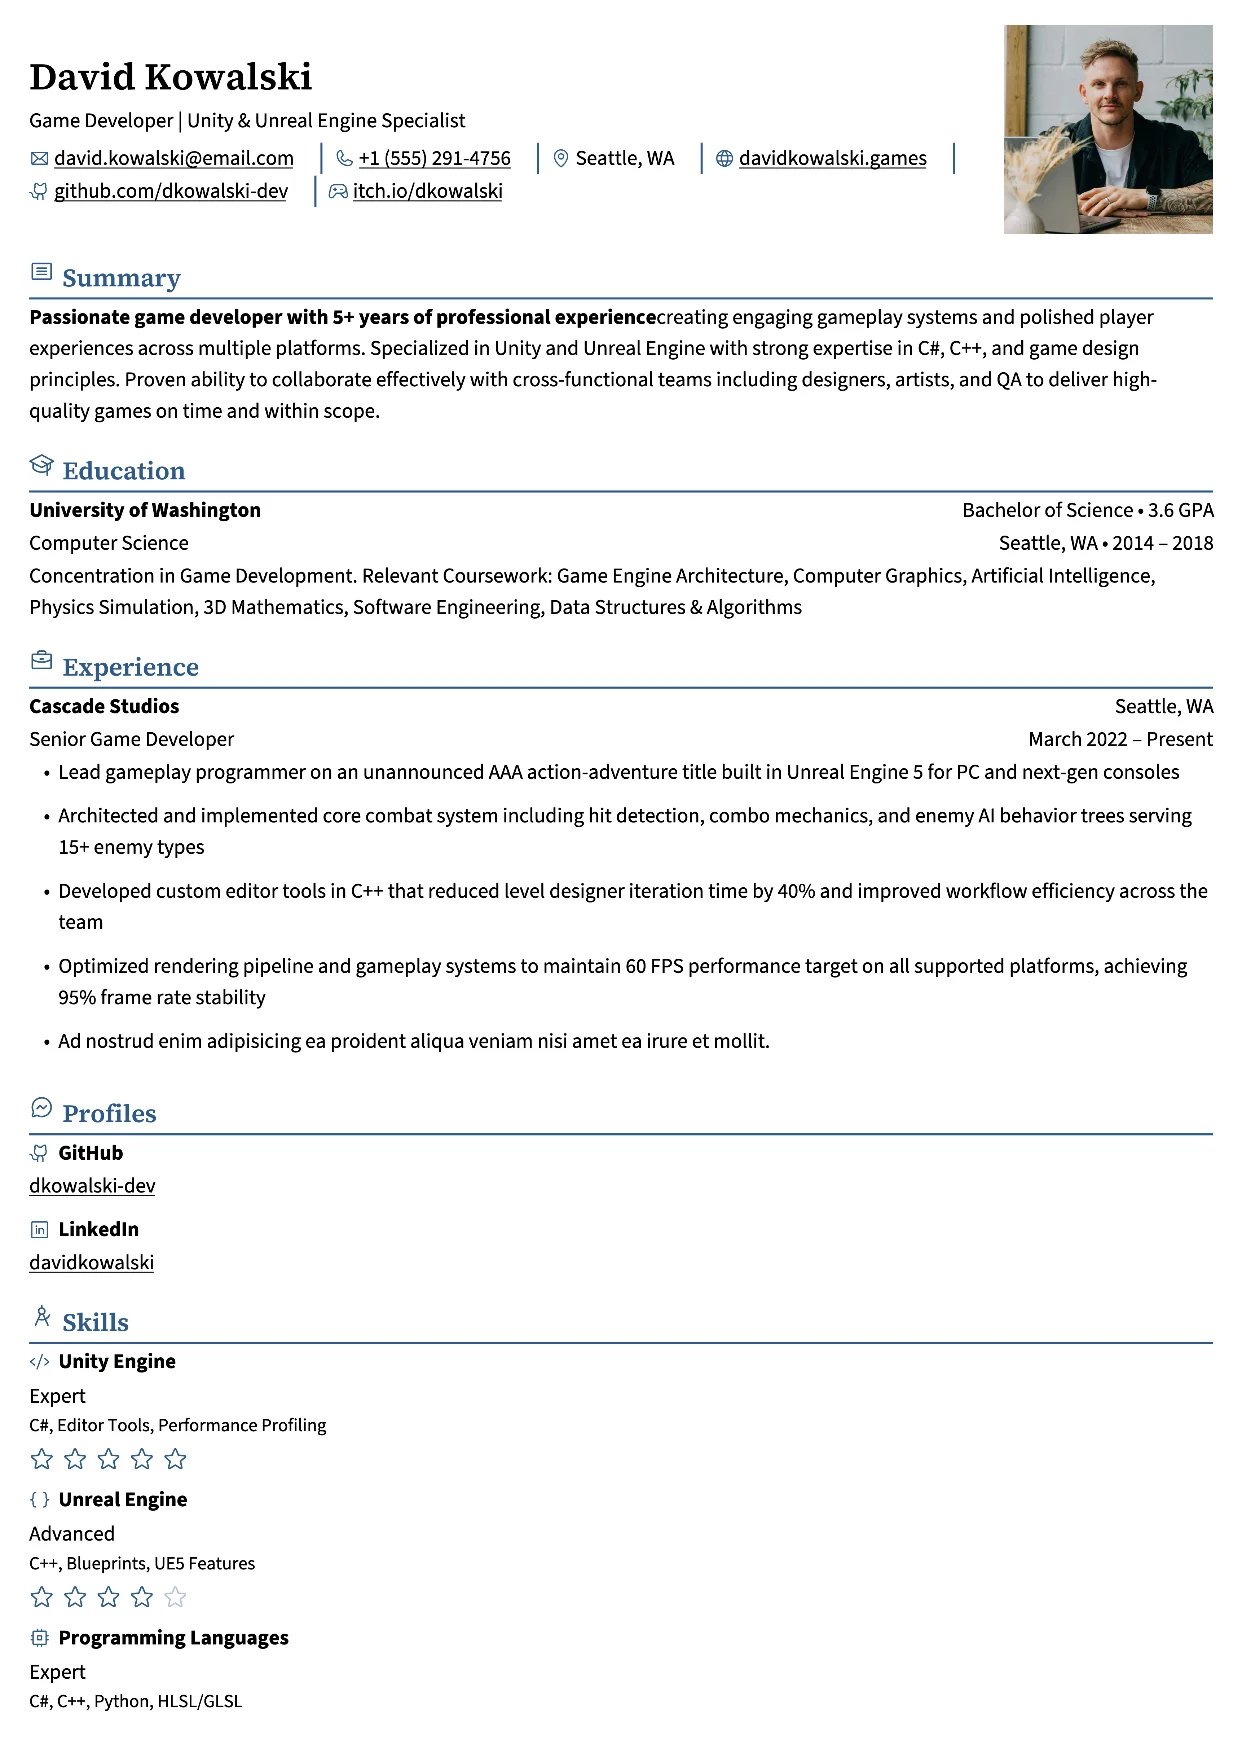
Rhyhorn
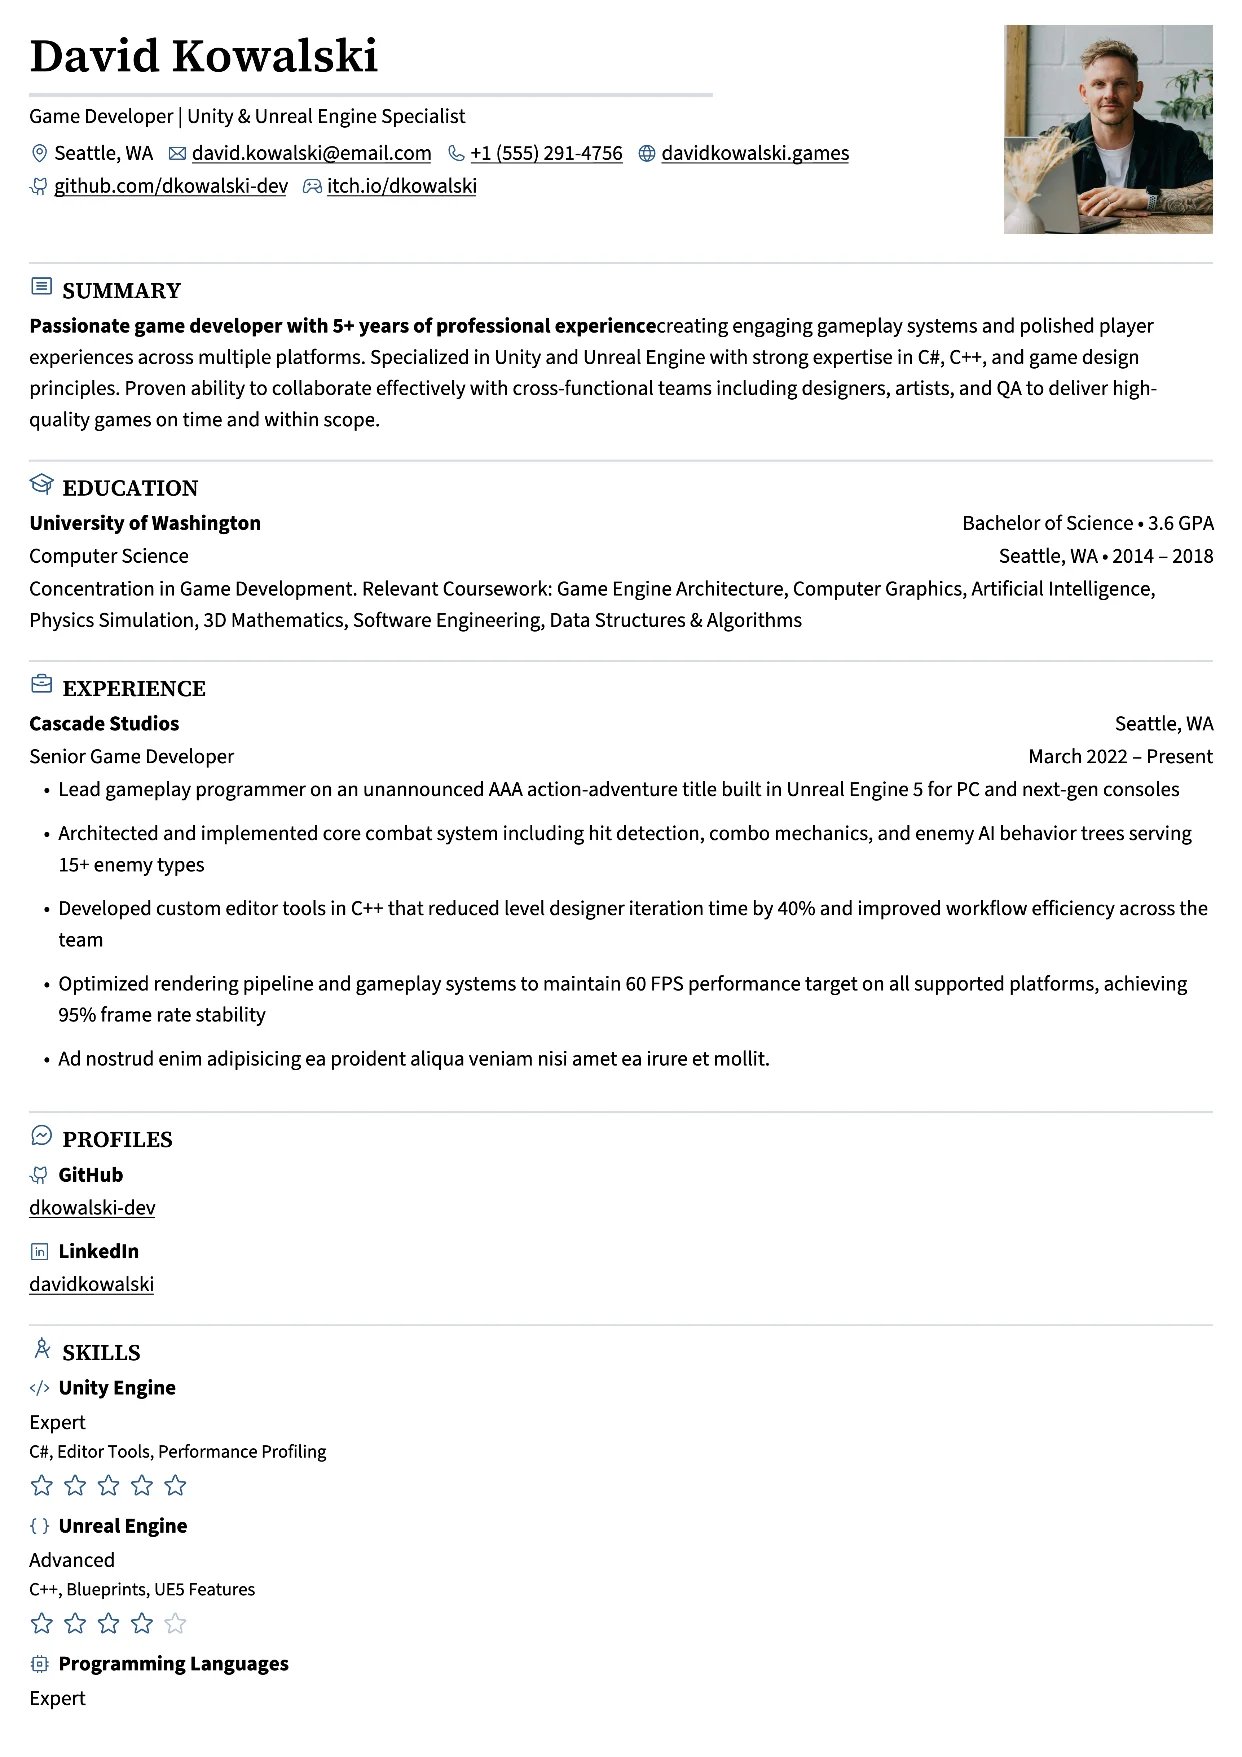
Scizor
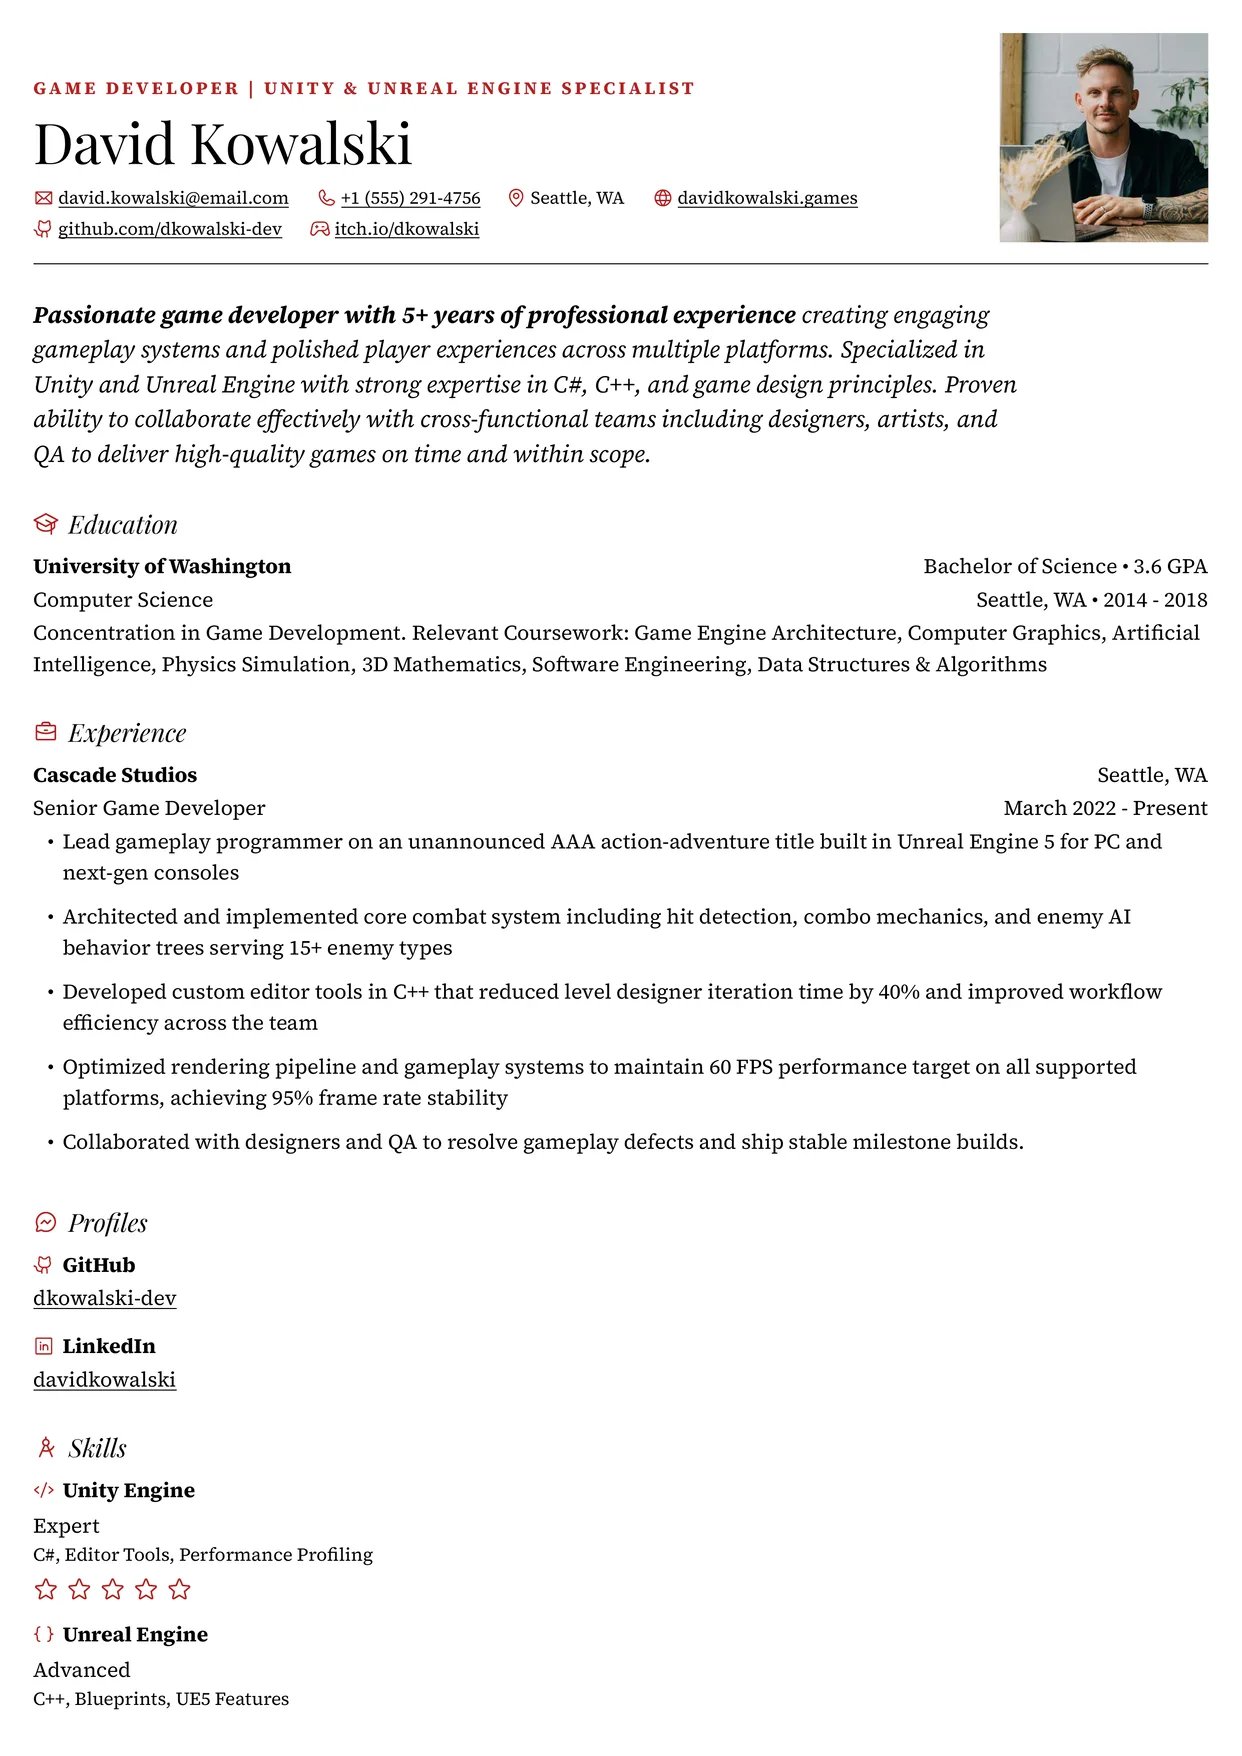
Smeargle
Tips for choosing
- Applying through job portals? Start with the ATS-safe filter. Two-column layouts can be read out of order by applicant tracking systems, and Check mode warns you when sidebar sections might be affected. See Checking your resume.
- Lots of experience? Compare how full each thumbnail’s first page looks. After you apply a template, the page count in the zoom bar at the bottom of the page tells you the total.
- Judge with real content. Because the gallery draws your own resume, fill in your details first and then pick.
Reset the design settings
If you have changed a lot of design settings and want a clean slate, open Advanced at the bottom of the Design panel and select Reset design defaults. This resets fonts, text size, line height, colors, level style, sidebar width, margins, spacing and the icon and underline switches. Your template, paper size, language, date format, section placement and custom CSS stay as they are. A message offers Undo. The reset doesn’t depend on the template: every template goes back to the same standard settings (IBM Plex Serif at 10 pt, a red accent, circle levels and hidden section icons). Pick a font pairing and accent color again afterwards if you want a different starting point.If Design’s controls are greyed out, the resume is locked. Open the document name menu at the top left and select
Unlock editing.
Related guides
Customizing typography
Pick a font pairing, text size and density.
Choosing colors
Set the accent color and check it reads well.
Arranging the layout
Move the sidebar, change its width and split sections across pages.
Fitting content on a page
Keep your resume to the number of pages you planned.