

Before you start
Open a resume in the editor and make sure Write is selected in the editor bar. If you’re new to the editor, read Getting to know the resume editor first.Enter your name and contact details
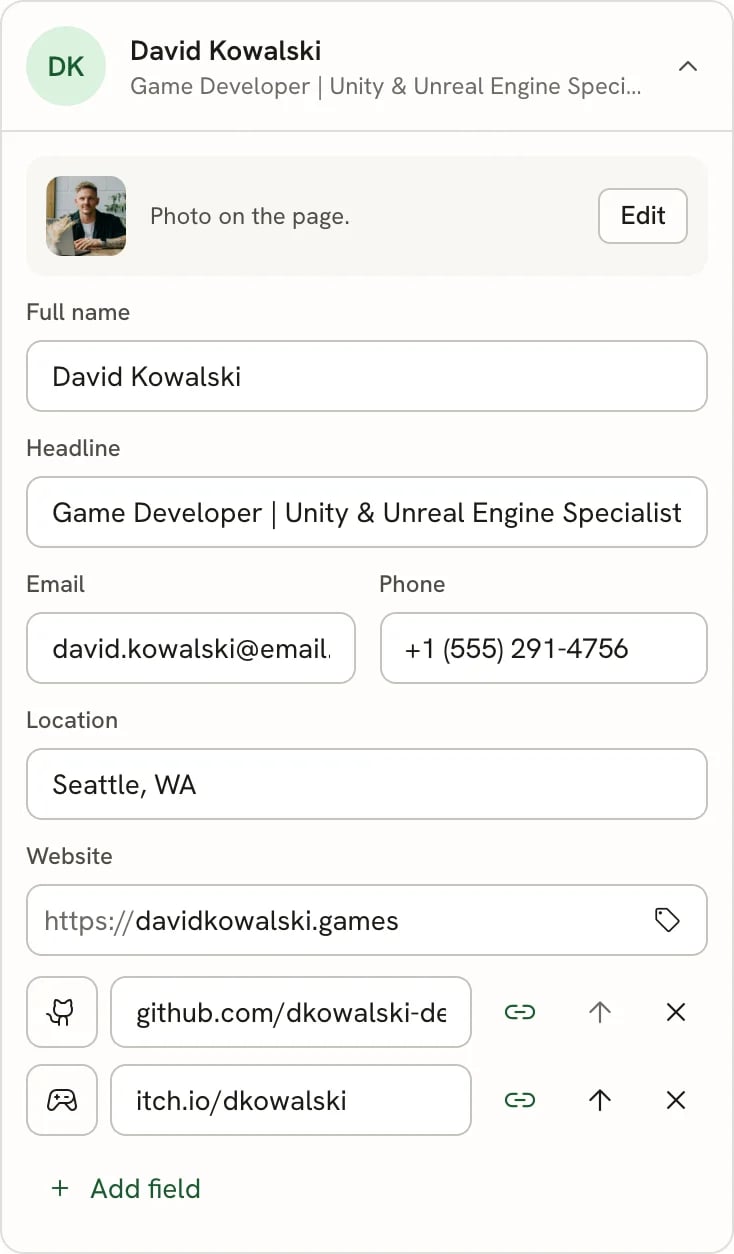
The Basics card
1
Open the Basics card
The card is at the top of the Write panel and shows your initials, name, headline and location. Select it to open or
close it. You can also click your name on the page to jump straight to it.
2
Fill in the fields
- Full name: your name as you want it printed. On a blank resume, this field is ready for typing as soon as the
editor opens. - Headline: a short line under your name, usually your job title or the role you’re aiming for,
for example “Game Developer”. - Email and Phone: how employers contact you. If an email address looks
incomplete, the field tells you what’s missing, for example “Add the domain after the @”. - Location: a city and
region is enough, for example “Seattle, WA”. - Website: your personal site or portfolio. You can leave out
https://; it’s added for you.
3
Check the page
Your details appear in the page header as you type. Leave a field empty to keep it off the page.
Add more links and contact details
Use custom fields for anything the standard fields don’t cover, such as a GitHub profile, a portfolio on another site, or a second phone number.1
Select Add field
Add field is under the Website field. A new row appears with an icon, a text box and a few buttons.
2
Type the text
Enter what should appear on the page, for example
github.com/dkowalski-dev.3
Choose an icon
Select the icon button at the start of the row (Pick an icon), then search for and pick an icon.
4
Add a link (optional)
Select the link button (Add a link) and enter the web address. The button is highlighted once the field has a
link (its name changes to Edit link), and the text on the page becomes clickable.
Add a photo
Whether to include a photo depends on where you’re applying. Many applicant tracking systems ignore photos, while some countries expect one. The photo row at the top of the Basics card reminds you of this.1
Open the photo settings
In the photo row, select Add (or Edit if the resume already has a photo). The photo settings open.
2
Upload a photo
Select the empty square (Upload photo) and choose an image from your device. JPEG, PNG, WebP and GIF files up to 10 MB work.You can also paste the address of an image that’s already online into the URL field.
3
Crop it
The Crop photo dialog opens. Drag the image to position it and use the Zoom slider to frame it, then select Crop and upload. Select Skip and upload to use the whole image, or Cancel to stop.The crop frame follows the photo’s Aspect ratio setting, so set that first if you want a non-square photo. When Fit is set to Contain, the image uploads without the crop step.
4
Adjust how it looks
Change the settings below and watch the page update. Your changes save as you make them.
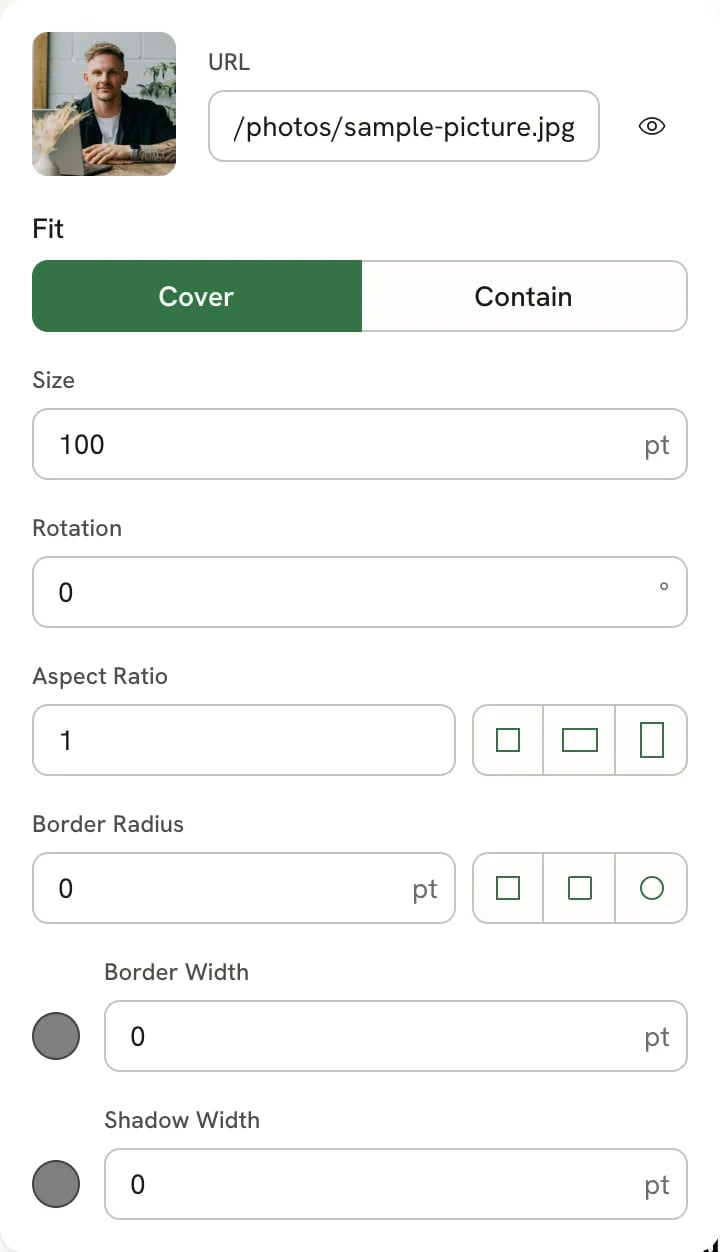
The photo settings
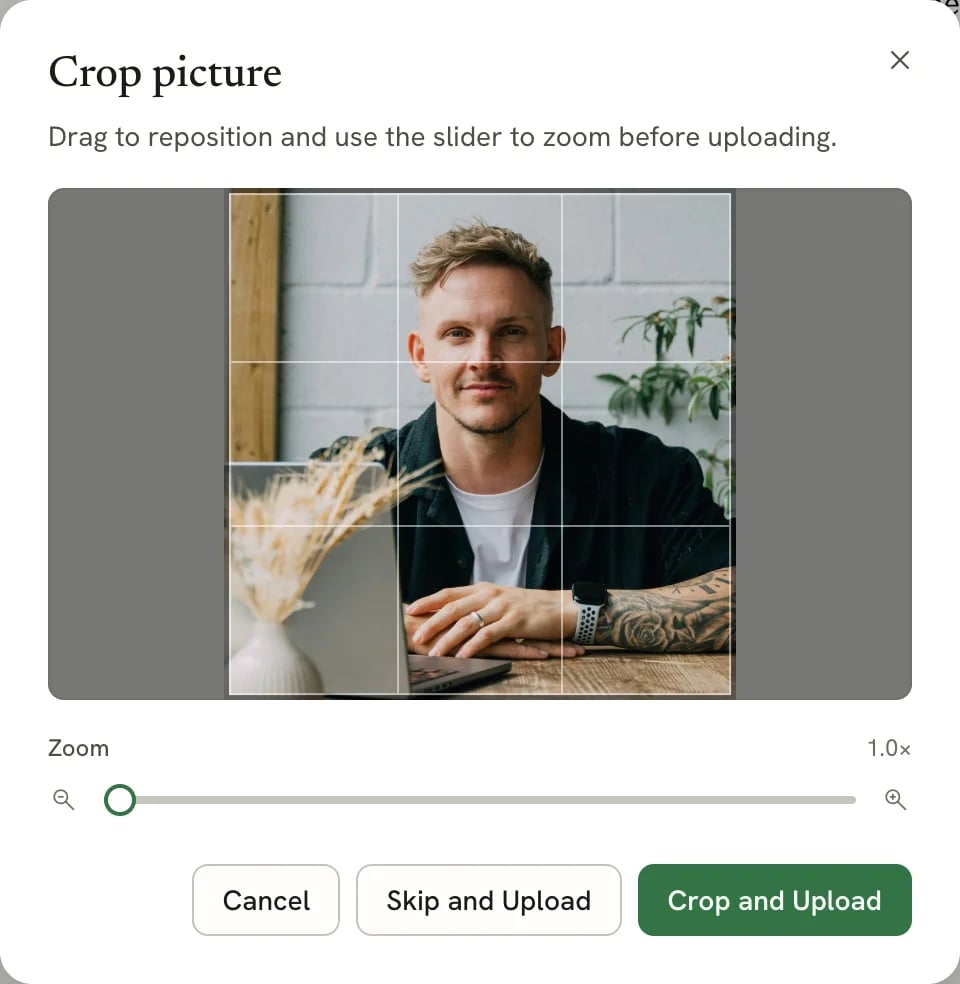
Cropping a new photo before it uploads
Uploaded photos are resized to at most 800 × 800 pixels and saved as JPEG, so transparent backgrounds become solid.
Self-hosted installations can turn this processing off.
Write your summary
The summary is a short statement under your header that says who you are and what you offer.1
Find the Summary row
Look for Summary in the section list under the Basics card, and select it to open it.If there’s no Summary row, select Add section at the bottom of the list, then Summary.
2
Write two or three sentences
Click into the text box and type. While you’re typing, the box shows the formatting toolbar, the hint “2–3 sentences reads best” and a character count.
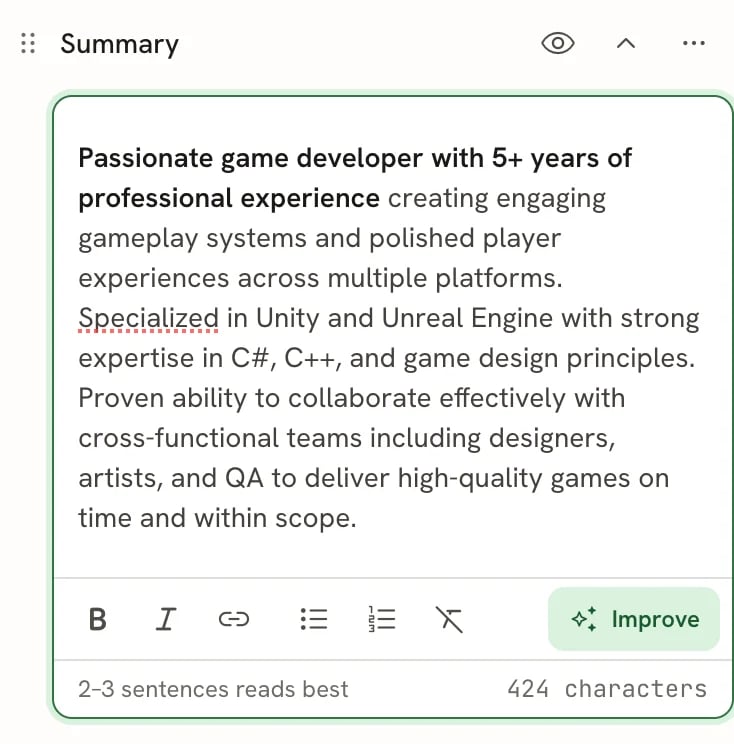
The summary while you're editing it
Next steps
- Managing sections: add experience, education, skills and more.
- Editing entries: fill in jobs, degrees and other entries.
- Formatting text: make text bold, add lists and links, and improve a line with AI.