

Before you start
Open a resume in Write mode and open the section you want to work in by selecting its title in the Sections · print order list. If the section isn’t there yet, add it first: see Managing sections.Open and edit an entry
A closed entry shows its title and a line of details, such as the company, location and dates. Select it to open its fields. Only one entry is open at a time, and the open entry is outlined on the page with an Editing tag. You can also select any block on the page to open the matching entry. Everything you type saves as you go. There is no save button.Add an entry
1
Select the add button
At the bottom of an open section, select the add button named after the section, such as Add experience or Add
skill. You can also open the section’s ⋯ menu and select Add entry.
2
Fill in the main field
The new entry opens at the end of the section with its first field ready for typing. It’s marked Draft until its
main field has text, and a note tells you which field that is, for example “Appears on the page once it has a
company.”
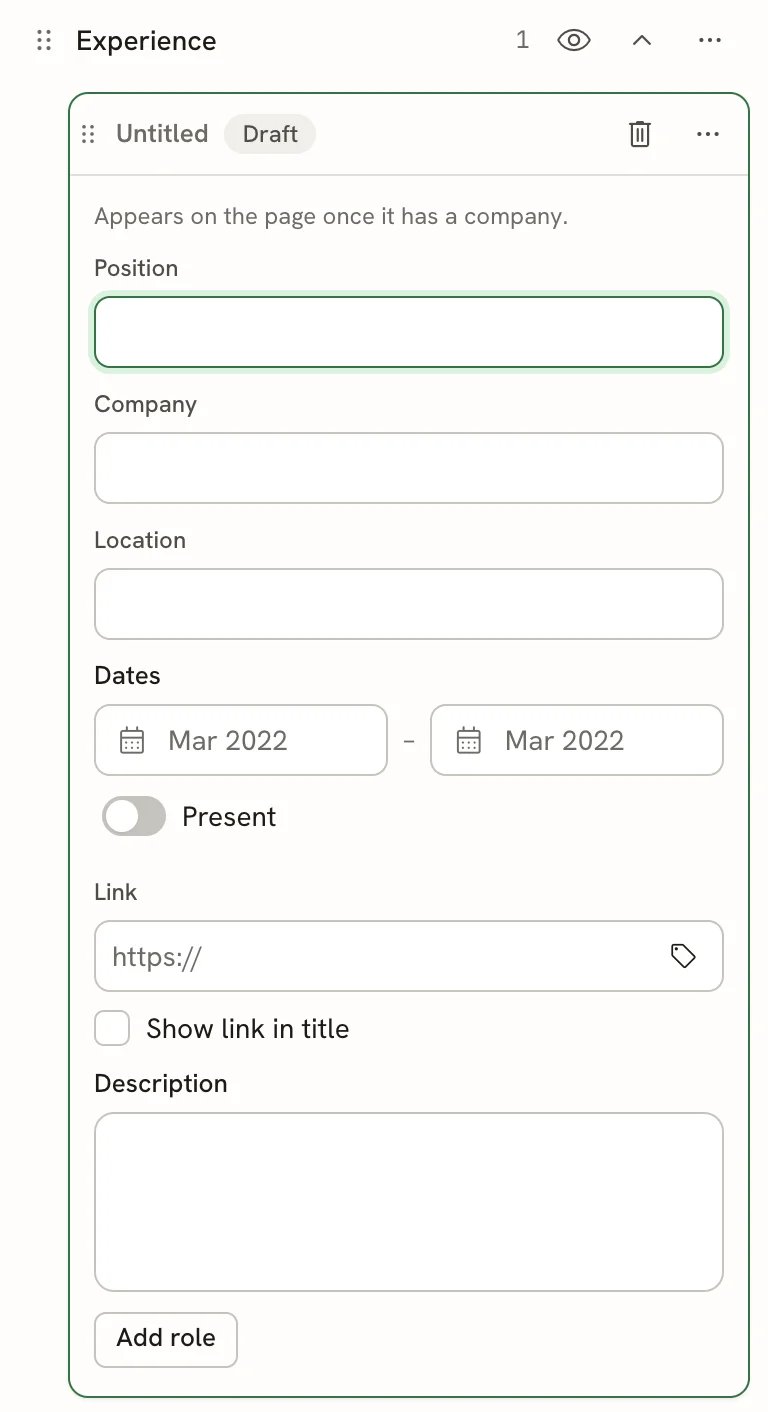
A new Experience entry, still a draft
Reorder entries
Entries print in the order they’re listed. To move one:- Hover over the entry and drag it by the handle on its left edge.
- Or select the entry’s title and press ⌥ Option + ↑ or ↓ (Alt + ↑ or ↓ on Windows and Linux).
The entry menu
Each entry has its own ⋯ menu on the right of its title.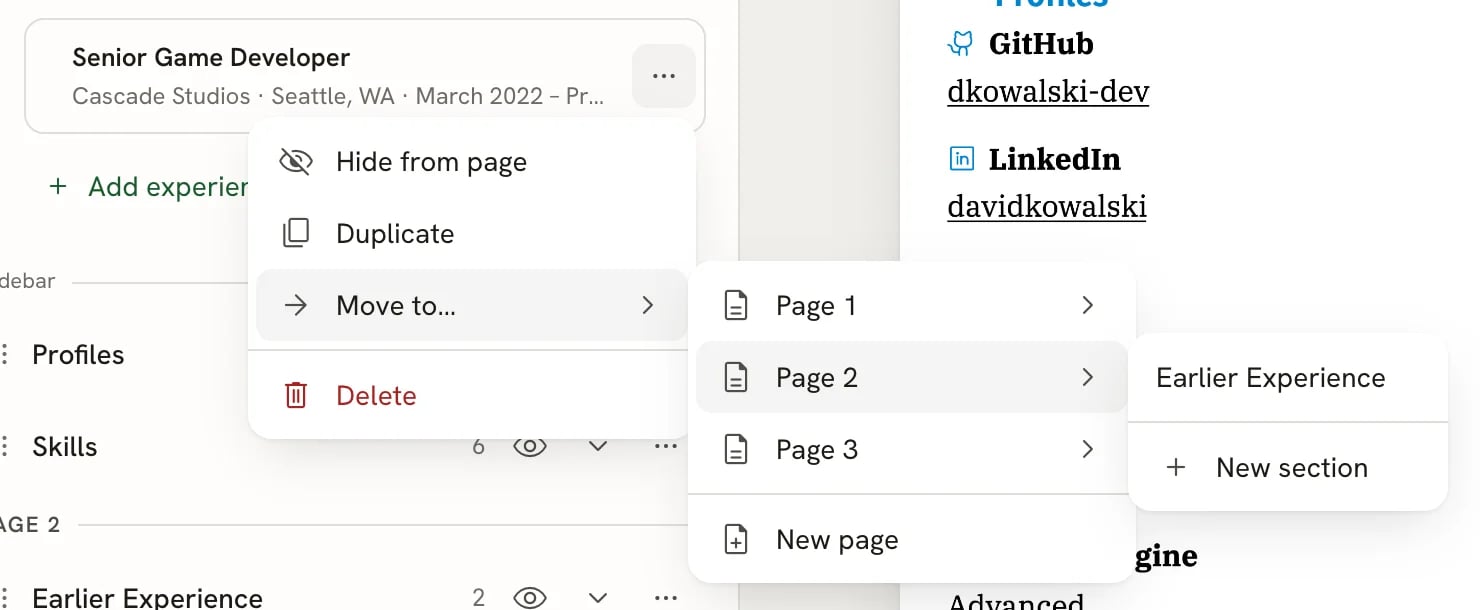
The entry menu with Move to… open on Page 2
Hide an entry from the page
Select Hide from page. The entry gets a Hidden badge and stops printing, but keeps all its content. Select Show on page in the same menu to bring it back. This is useful for keeping an older job on file without showing it on every version of your resume.Duplicate an entry
Select Duplicate. An exact copy appears right below the original and opens, so you can change the details. Use it when two entries share most of their text.Move an entry to another section or page
Select Move to…, then a page. For each page you see:- The sections on that page that hold the same kind of entry. An Experience entry can only move to another Experience-type section, including custom ones.
- New section, which creates a new custom section of the same type at the end of that page, named after the section the entry came from.
Delete an entry
Select Delete in the entry menu, or the trash icon that appears next to an open entry’s title. The entry is removed right away, and the Entry deleted message has an Undo button if you change your mind.Fields by section type
The main field is the one an entry needs before it prints.
Awards, Certifications and Publications have a single Date; the others have a start and end. See Entering dates.
Links
Most entries have a Link field for a web address; you can type it with or withouthttps://. The tag icon in the field adds a label, so the page shows text such as “Portfolio” instead of the full address. Tick Show link in title to turn the entry’s title into the link instead of printing the link on its own line.
Keywords
Skills and Interests take a list of keywords, such as the tools behind a skill. Type a keyword and press Enter or , to add it. Use the pencil on a keyword to edit it, or the × to remove it. To print keywords as a bulleted list instead of a line, use Keyword layout in the Skills section’s ⋯ menu.Level, icon and colour
Select More options below a skill, language, interest or profile to see the less common fields.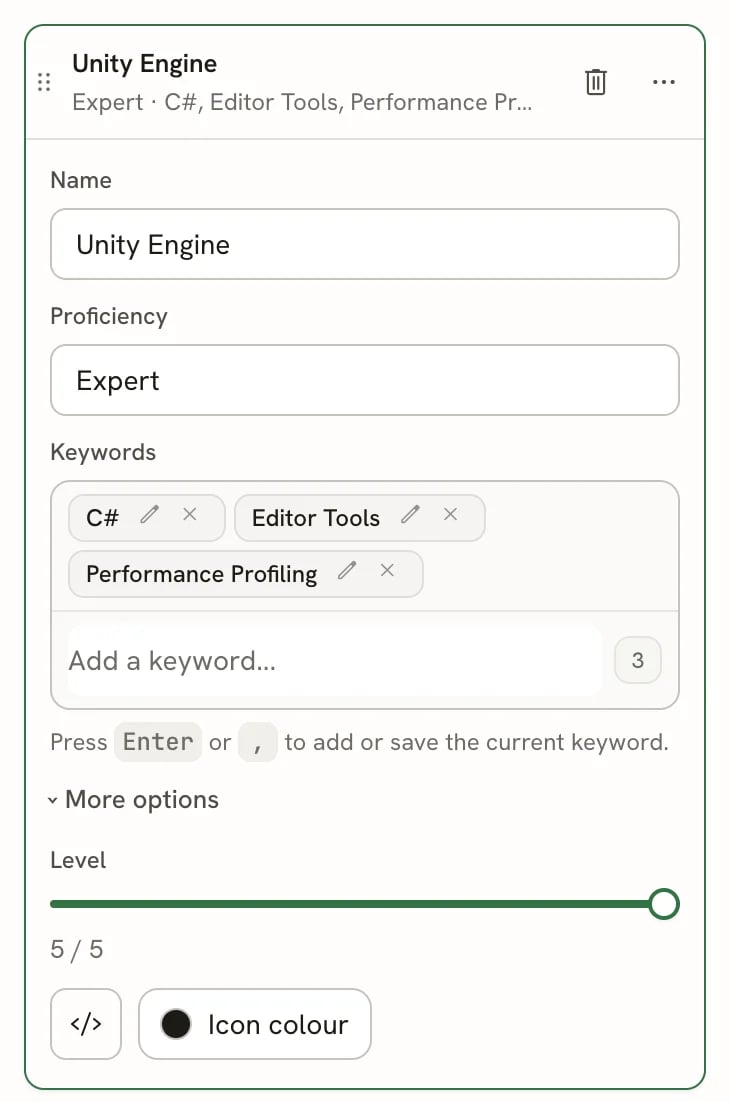
A skill with More options open
- Level is a slider from 0 to 5 that prints as dots, bars or icons next to the skill or language. At 0 it reads Hidden and no level prints. The shape of the level marker is chosen in Design → Advanced.
- The icon button picks an icon to print before the entry, and Icon colour sets its colour. Leave the colour empty to use the template’s. Entry icons print only while Icons in contact line is on in Design → Page.
Show career progression with roles
If you held several positions at the same company, add them as roles under one Experience entry instead of repeating the company.1
Open the Experience entry
Open the entry for the company.
2
Add roles
Select Add role at the bottom of the entry. Each role has its own Position, Dates and Description.
Add one role per position you held.
3
Order the roles
Use the up and down arrows on each role to change the order, usually the most recent first. The trash icon removes a
role.
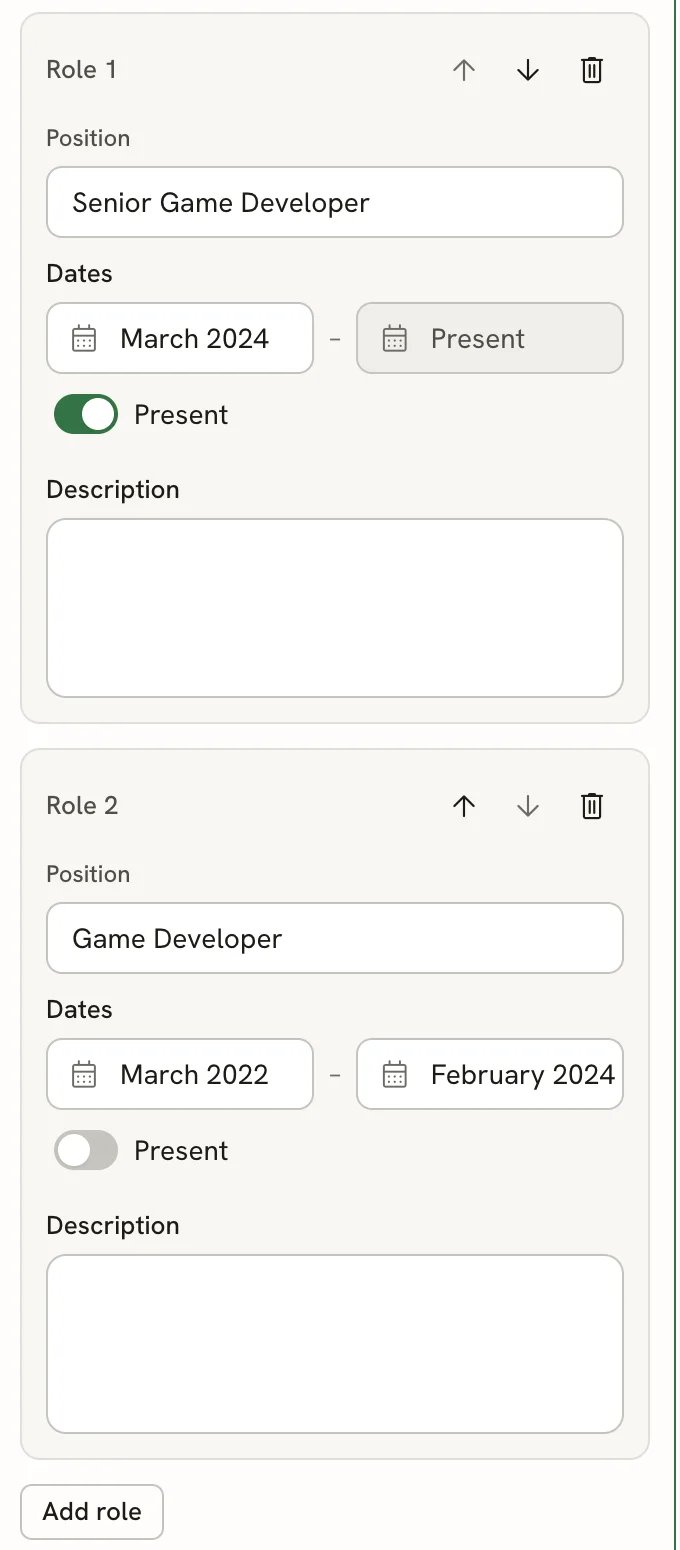
Two roles under one Experience entry
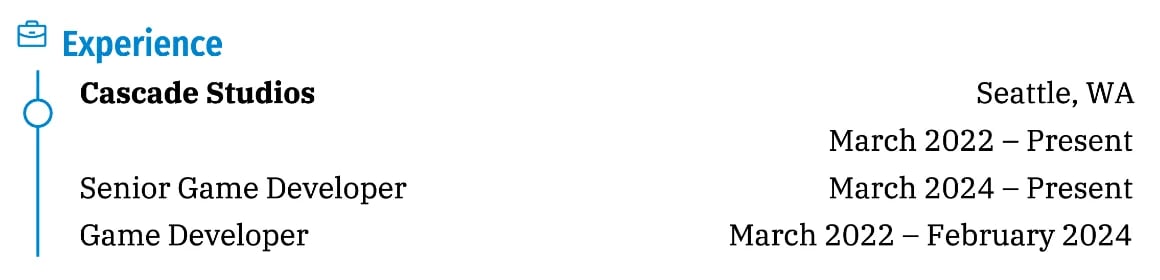
How the roles print
- The entry’s own Description remains editable and prints alongside the role descriptions.
- The entry’s own Dates can cover the whole time at the company. Its Position prints above the roles unless it repeats a role’s Position; repeated text is shown once.
- A role without a Position doesn’t print.
On a phone
On a phone, an open entry fills the screen. The back button at the top is named after the section and takes you back to the list, and the trash icon deletes the entry. Everything else works the same way.Related guides
- Managing sections: add, hide, rename and reorder whole sections.
- Entering dates: start and end dates, year-only dates and the date format.
- Formatting text: bold, lists and links in descriptions.
- Undoing changes and version history: go back to an earlier version.