

Enter dates for an entry
Experience, Education, Projects and Volunteer entries have a start and an end date. Each job role has its own pair too.1
Open the entry
In Write mode, open the entry you want to date. See Editing entries if you’re not
sure how.
2
Type the start date
In the first box under Dates, type the date the way you normally write it, for example
Mar 2022, March 2022,
03/2022, 2022-03, or only 2022. A date that can be read saves as you type. When you leave the box, it switches
to your resume’s date format.3
Type the end date, or turn on Present
Type the end date in the second box. If you’re still in the role or still studying, turn on Present instead. The
end box then shows the word “Present” and can’t be edited.
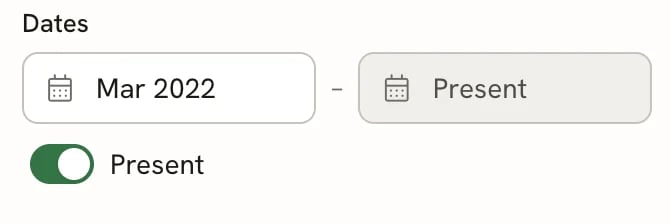
A current role: the start date and Present
Year-only dates
If you don’t remember the month, or prefer not to show it, type only the year, such as2014. Year-only dates are exact, not guesses: they print as the year alone whatever date format you choose, for example “2014 – 2018”.
How dates print
The page shows the start and end joined by a dash. If there’s only a start date, only that date prints; with Present on, the end reads “Present”.
Dates on the page: year-only for Education, month and year with Present for Experience
Choose the date format
1
Open Advanced in Design mode
Select Design in the editor bar, then open Advanced at the bottom of the panel.
2
Pick a date format
Choose one of the four formats in Date format. Every date on the resume changes at once.
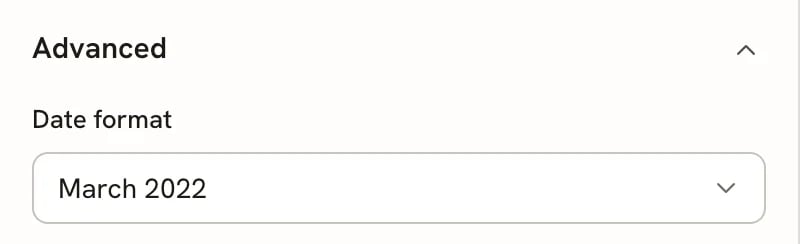
The Date format setting in Design → Advanced
Resumes brought over from an earlier version of Reactive Resume start with whichever of these formats is closest to how their dates were typed. Reset design defaults in the same panel doesn’t change your date format.
Fix dates that need a look
The Dates field tells you when something is off.- “This date has not been saved.” The text you typed cannot be read. Correct it using a month and year, such as Mar 2022, or only a year. The page keeps the last readable date until then.
- “The end is before the start.” The two dates are the wrong way round. Swap them, or the entry sorts to the end when you use Sort by date.
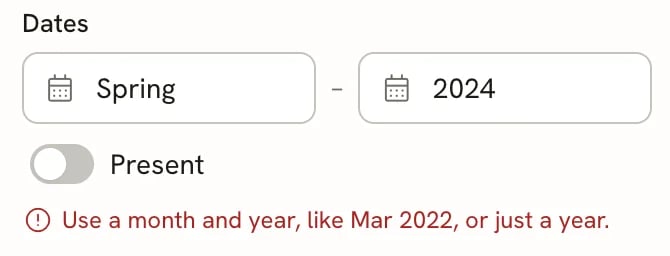
A date that can't be read
Dates from imports and older resumes
When you import a resume, or open one made before dates were structured, Reactive Resume converts each date from its text. Dates it can’t read exactly, such as “Summer 2016”, are flagged:- The section’s row in the list shows a to check badge with the number of entries to look at.
- The entry’s Dates field explains what happened, for example: We read “Summer 2016”. Pick a month so it sorts and prints consistently.
- Until you edit the dates, the entry prints the original text as it was written.
Check mode also flags entries without dates, dates that can’t be read, dates that run backwards and dates in the
future. See Checking your resume.
Related guides
- Editing entries: the other fields in each entry, including job roles.
- Managing sections: sort Experience and Education by date from the section menu.
- Importing resumes: bring in an existing resume and review what was read.